Warning
You are reading the documentation for an older Pickit release (3.0). Documentation for the latest release (3.4) can be found here.
Robot-camera calibration
In this step we do a robot-camera calibration. In the previous chapter we saw that the Pickit system is able to detect parts in its field of view. Now Pickit needs to know where the robot is based so that it can tell the robot where it needs to move to when an object is detected. If you skip this step, the robot will move to a wrong location.
Follow the steps below to do a robot-camera calibration:
Mount the robot-to-camera calibration plate to the flange of the robot. Make sure it is well fixed.
Click on the Calibration button on top of the web interface, then Start calibration.
Select a fixed camera mount and your robot type, and then follow the calibration wizard as it guides you to collect the calibration poses, as shown below.
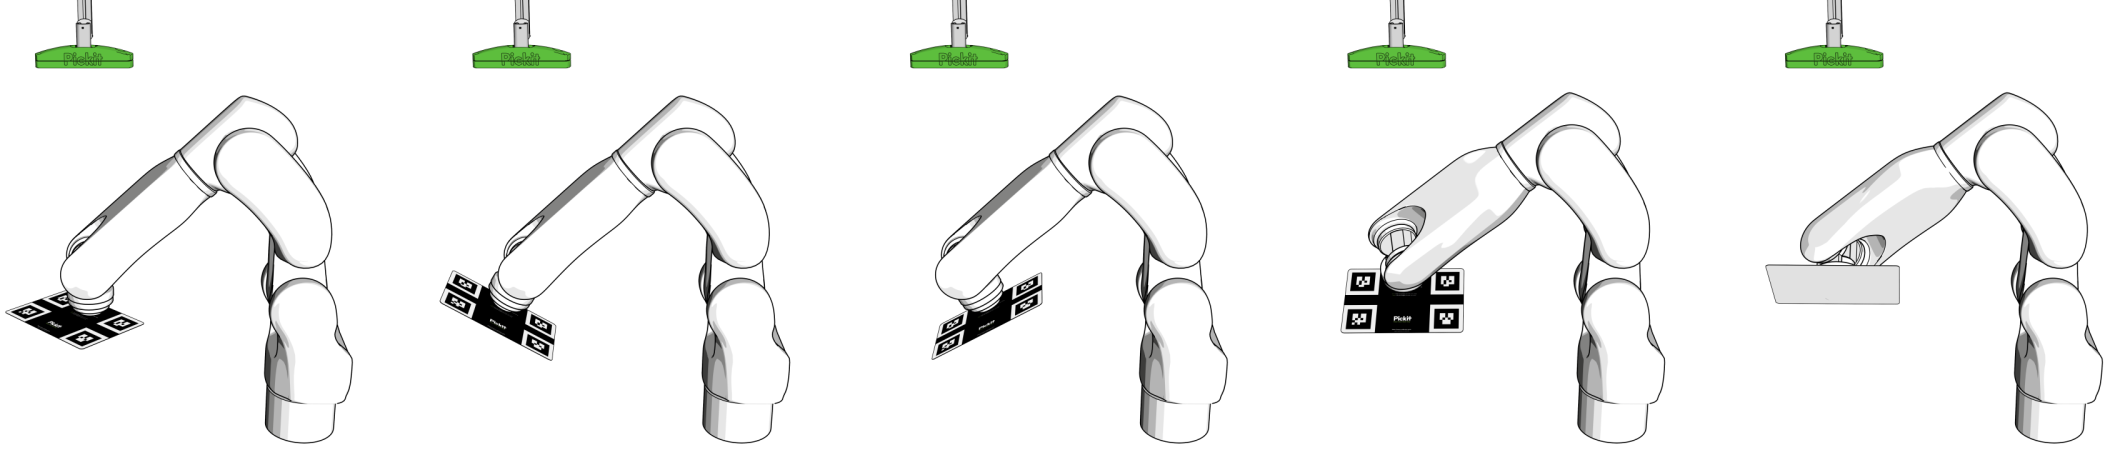
For most robot integrations, you can collect calibration poses by manually jogging or free-driving the robot and clicking Collect current pose. If the Collect current pose button is not shown for your robot integration, you need to run a pose collection robot program (learn more).
In the final step of the calibration wizard, you can optionally validate the correctness of the results.
Tip
You can learn more about robot-camera calibration in the calibration video tutorial and the Calibration article.