Warning
You are reading the documentation for an older Pickit release (2.2). Documentation for the latest release (4.0) can be found here.
Installing the Pickit calibration plate
To accurately pick objects located by Pickit, a robot-camera calibration is needed. Different methods of calibration are described in the article Calibration.
Pickit provides the necessary equipment for mounting the calibration plate on two types of flanges, namely robots with 50 mm (ISO 9409-1-50-4-M6) and 31,5 mm (ISO 9409-1-31.5-4-M5) wide flanges.
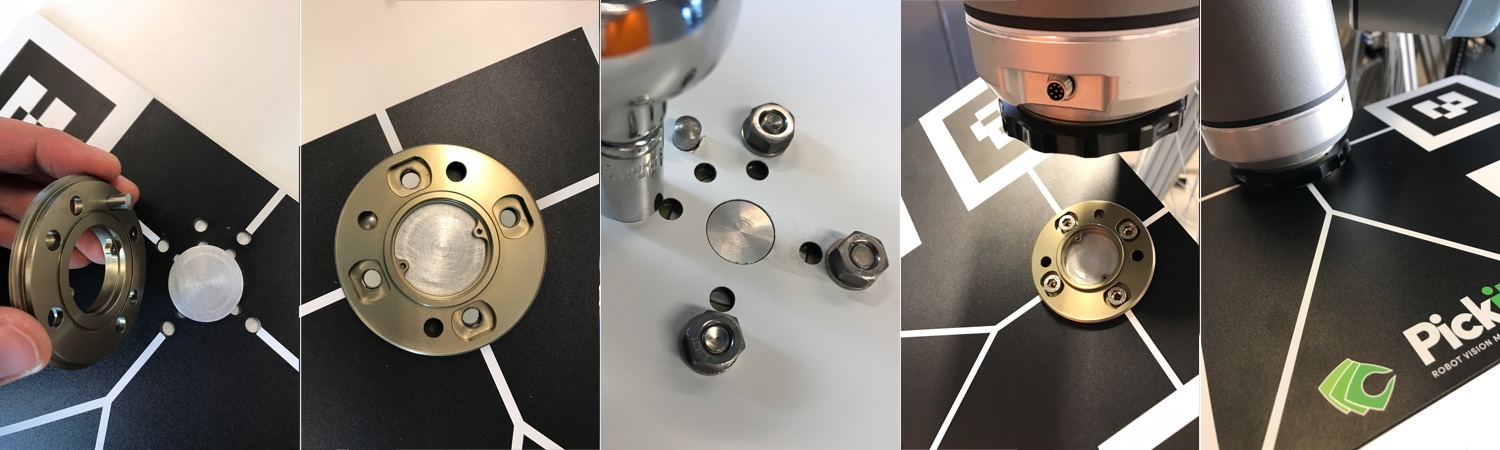
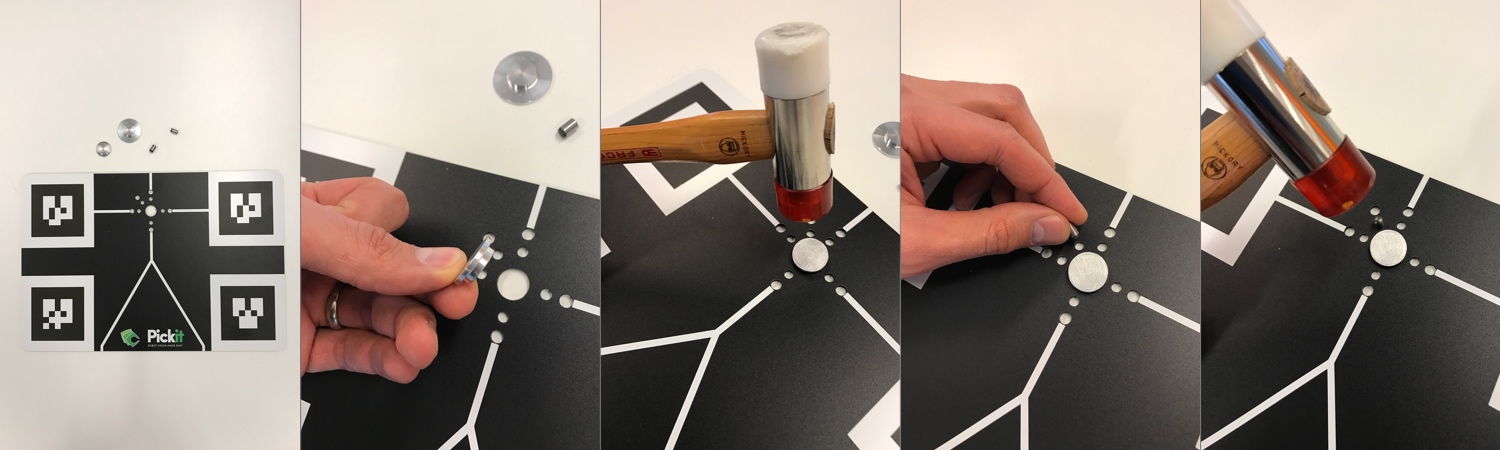
Preparation
Fit the aluminum fitting piece in the biggest hole of the plate so that the fitting piece sticks out at the coloured side of the calibration plate.
For 50 mm flanges use the biggest fitting piece and biggest 6 mm dowel pin.
For 31,5 mm flanges use the smallest fitting piece and smallest 5 mm dowel pin.
Align the dowel pin in the only diagonal hole and smack it with a soft hammer, so that it enters the plate.
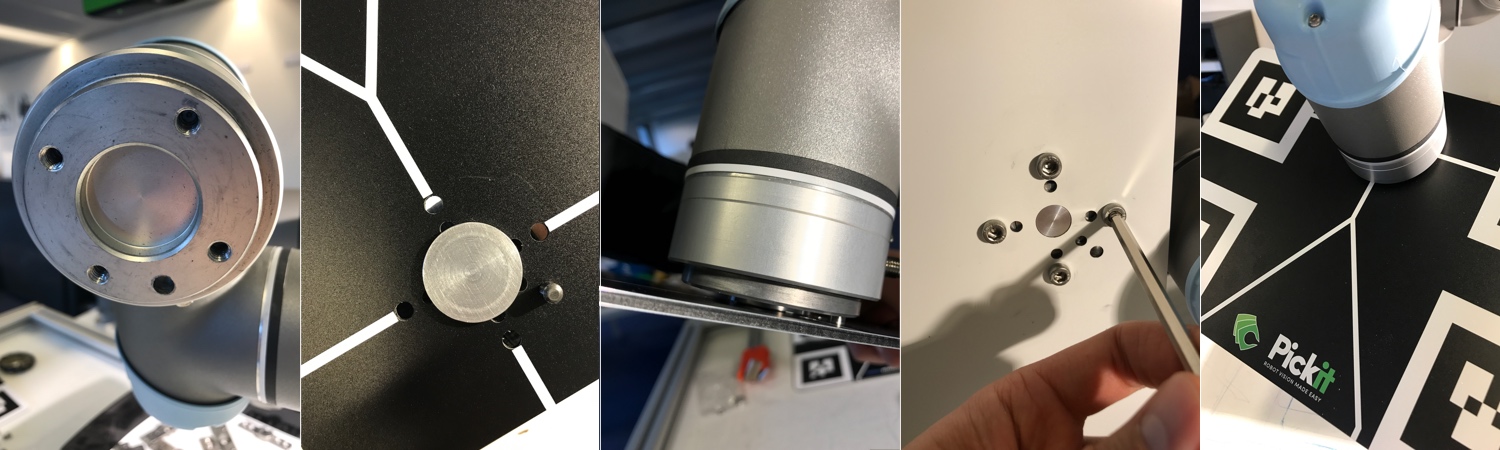
Installing the Pickit calibration plate on the robot flange
Align the plate, dowel pin and holes with the robot flange.
Screw the plate to the flange.
Installing the Pickit calibration plate on a tool changer
It is also possible to mount the calibration plate to the robot flange by using a tool changer.
Fit the aluminum fitting piece in the biggest hole of the plate so that the fitting piece sticks out at the coloured side of the calibration plate.
For 50 mm flanges use the biggest fitting piece and biggest 6 mm dowel pin
For 31,5 mm flanges use the smallest fitting piece and smallest 5 mm dowel pin
Align the dowel pin in the only diagonal hole.
Bolt the tool changer piece to the plate and attach the plate to the tool changer.