Warning
You are reading the documentation for an older Pickit release (2.2). Documentation for the latest release (4.1) can be found here.
Attach the ROI Box to the robot base for picking objects from a big bin
Introduction
When you would like to pick objects form a big bin (a bin bigger than the field of view of the Pickit camera) you need to move the camera to different view positions to see the whole bin.
This can be done by putting the camera on a slider, but more conveniently you can put the camera on the robot flange. In this way you can use the robot both for picking as for enlarging the field of view of you Pickit camera.
Pickit has a feature making it easier to solve this kind of application: Attaching the virtual Region of interest box (ROI box) to the the robot base.
By default the Region of interest box is attached to the camera and moves together with the camera when the camera moves.
With this feature the ROI box does not move with the camera but stays attached to fixed the robot base while the camera moves. In this way you can define one big ROI box inside your bin and don’t have to change between different setup files and ROI boxes for every viewing position.
How to attach the ROI box to the robot base frame?
1. Perform robot-camera calibration
For Pickit to define where the ROI box is with to the robot base Pickit needs to know where the camera is with respect to the robot. To define this you should first perform Multi poses calibration. If calibration was already done, there is no need to do this again.
2. Enable attachment to the robot base
Enable attachment to robot base by enabling this setting on the Setup page, in section Fix ROI box.
3. Define the ROI box
To define the ROI box, robot communication should be active. (verify the V icon in the green bar at the top of the Pickit interface) For Universal Robots, when you don’t have the Pickit URCap installed, you explicitly need to run the Robot_communication program to have an active communication. For Staubli robots you explicitly need to run the OpenComm program to have an active communication.
The easiest way to define the ROI box for this application is by using the three markers as explained below.
a. First measure the length, width and height of the bin.

b. Place the markers starting from one corner of the bottom of the bin.
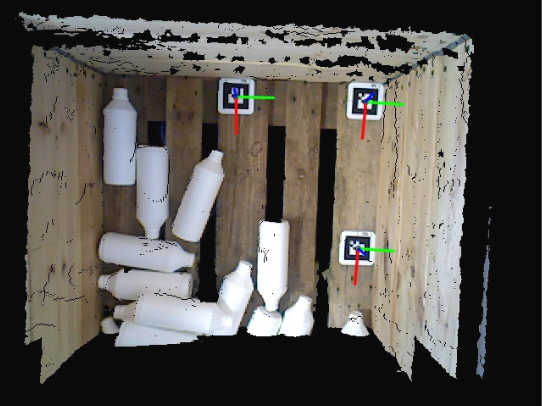
c. Define the ROI box by pushing the ‘Use markers’ button.
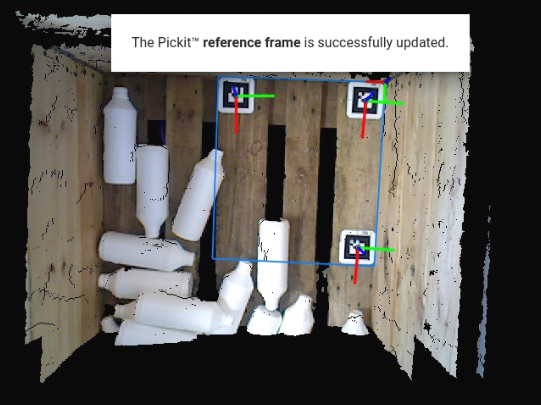
d. Enlarge the ROI box based on the measurements of your bin
4. Verify the attached ROI box by moving the robot/camera
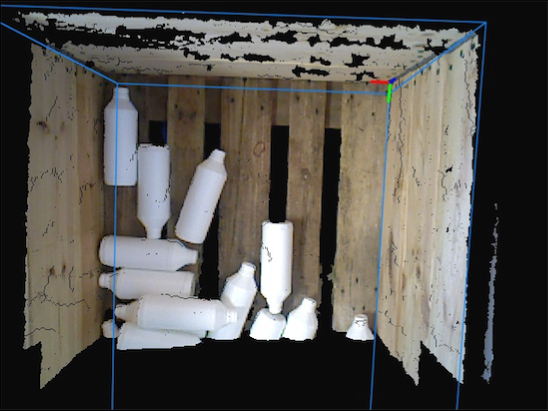
The ROI box should stay aligned with the bin when moving the robot/camera as seen above.
In the image below you see what happens if the ROI box is not attached to the robot base, but to the camera.
5. Set up the application
Depending on the dimensions of your bin, the dimensions of your objects, the height of the camera and the field of view of the camera you can define 2, 3 or more viewing positions. It is important that these positions are overlapping because otherwise the objects on the boundaries of these viewing positions would never be seen as a whole.
It can be important to lower your viewing points together with emptying the bin to be sure to see all layers of products in the field of view of the camera.
