Warning
You are reading the documentation for an older Pickit release (2.4). Documentation for the latest release (4.0) can be found here.
ABB installation and setup
The setup of Pickit with an ABB robot consists of 4 steps:
Check controller and software compatibility
Pickit is compatible with controllers as of version IRC5 with RobotWare 5 or 6 and furthermore. To communicate with Pickit, the following controller modules need to be installed:
616 PC interface
623-1 Multitasking
To check this compatibility, open RobotStudio and follow the next steps:
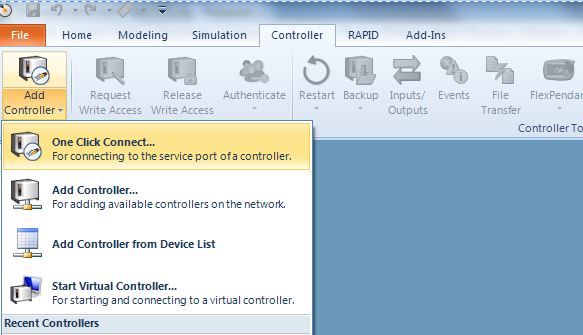
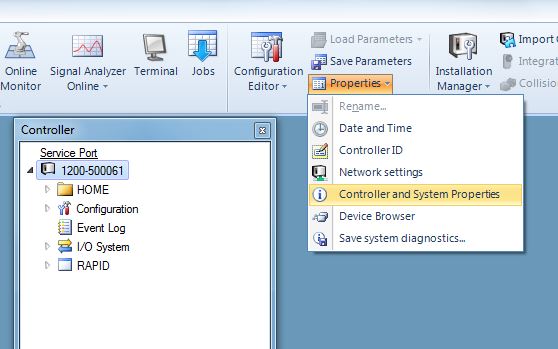
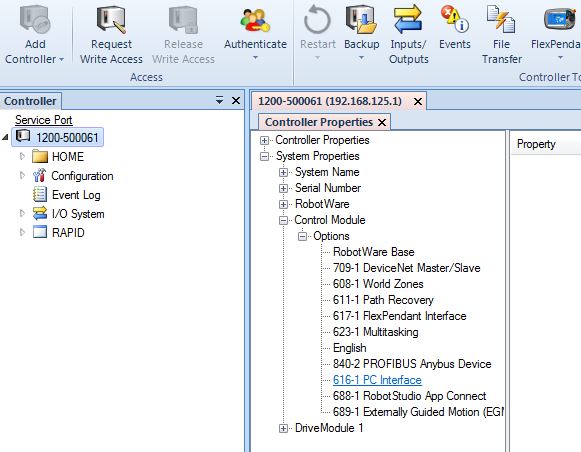
If you don’t have the right software version or module please contact your local ABB distributor.
Setup the network connection
Hardware connection
The Pickit processor has to be connected to the robot controller using an Ethernet cable.
This Ethernet cable should be plugged in:
The ROBOT port of the Pickit processor;
The WAN port of the robot controller.
IP configuration
Open RobotStudio and follow the next steps:
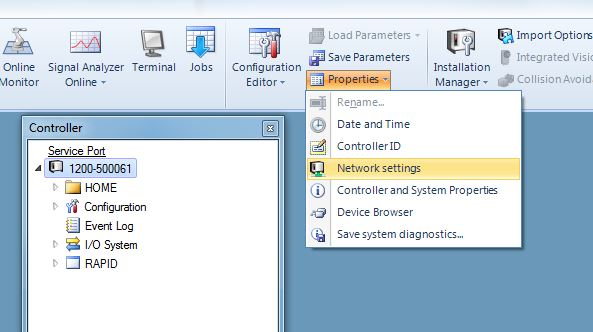
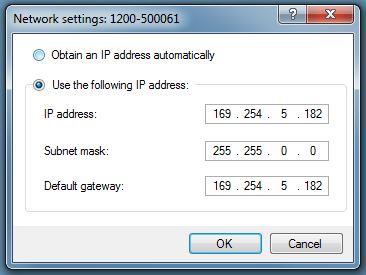
Set the IP address of the controller preferably to 169.254.5.182 which is an IP address in the same subnet as the Pickit IP and set the subnet mask to 255.255.0.0.
The IP address of the robot can not be the same as the IP address of Pickit.
After these steps restart from the Flex pendant (assuming you have no write access yet).
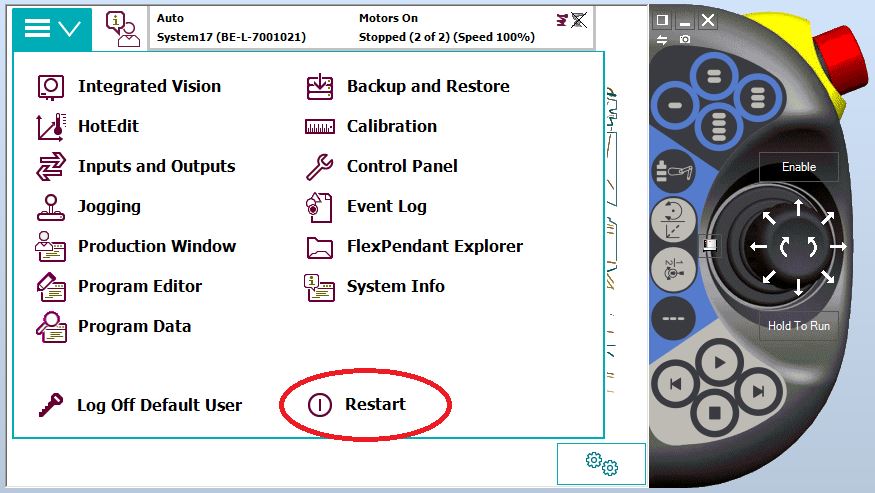
Load the program files
Download the right files
Upload the files to the robot
Upload these files using File Transfer.

Manual mode: press ‘Grant’ on the Flex pendant
Automatic mode: not necessary
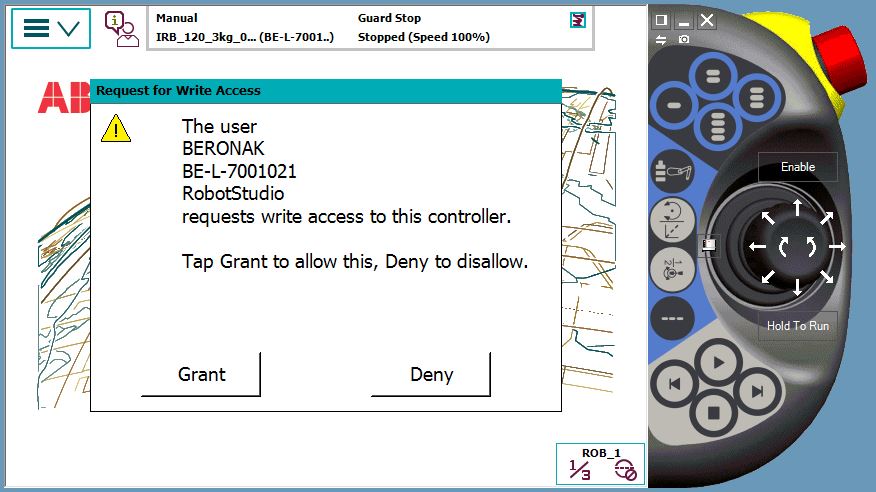
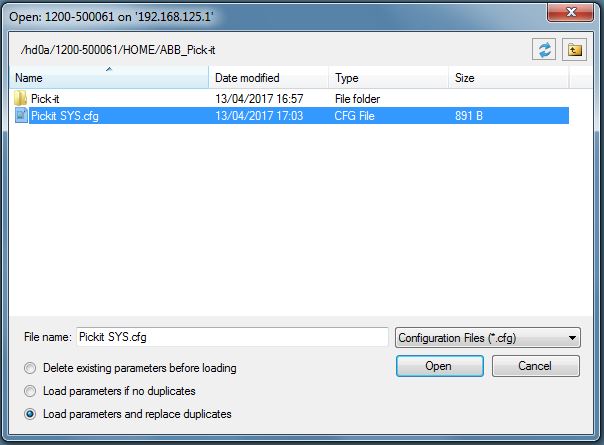
Load parameters from controller
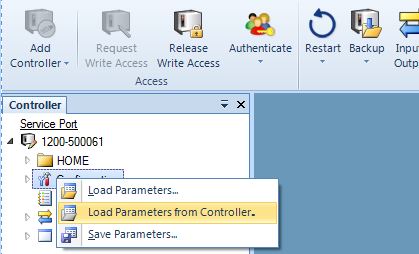
For an ABB controller with RobotWare 5 select the Pickit SYS RW5.cfg file.
For an ABB controller with RobotWare 6 select the Pickit SYS RW6.cfg file.
For the ABB YuMi, select the Pickit SYS YuMi.cfg file.
This will load the required system modules in corresponding tasks.
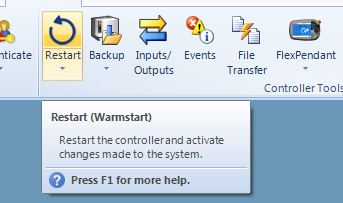
Restart the controller.
Test robot connection with Pickit
Details on testing this connection can be found on: Testing the Robot to Pickit connection