Warning
You are reading the documentation for an older Pickit release (3.1). Documentation for the latest release (4.1) can be found here.
How to set good model matching parameters
This article will guide you in setting good values for the Matching tolerance and Minimum matching score. These values are unique for each model in a Pickit Teach detection. Setting these parameters to good values has a significant impact on object detection results.
Matching tolerance
The Matching tolerance is a way to cope with small differences between the taught model and what is seen in the scene. These small differences are often caused by sensor noise. A value for this setting can be either automatically calculated by Pickit or can be set manually.
If the value needs to be automatically calculated, keep the box next to this value unchecked.
To manually set this parameter, follow these steps:
Check the box next to the parameter value.
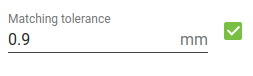
Place one part in the middle of the box, in a similar way as you taught the model.
Trigger a detection.
Look at the Matching score in the objects table.

Ideally this should be around 98% when using the M-HD camera and around 95% when using the M/L camera.
If the Matching score is too high, gradually lower the Matching tolerance.
If the Matching score is too low, gradually increase the Matching tolerance.
Note
Make sure that the part is presented in a similar way to the camera as it has been taught. If the part is placed in a different way, it can be that the desired matching score is never reached.
Minimum matching score
After you defined a good matching tolerance you can define a Minimum matching score. This value represents how much of the part in the scene can be missing in comparison to what is known from the model.
The following steps will guide you to find a good value:
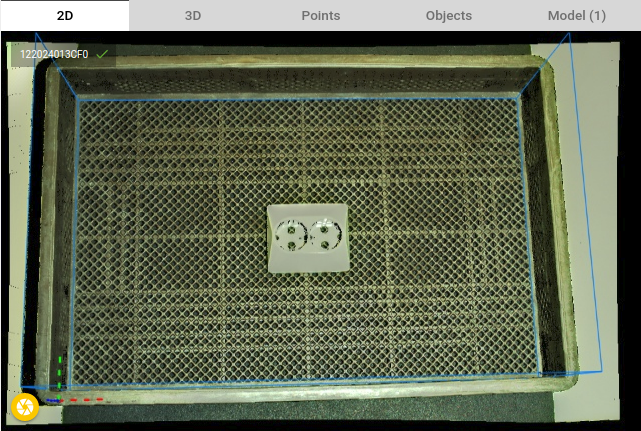
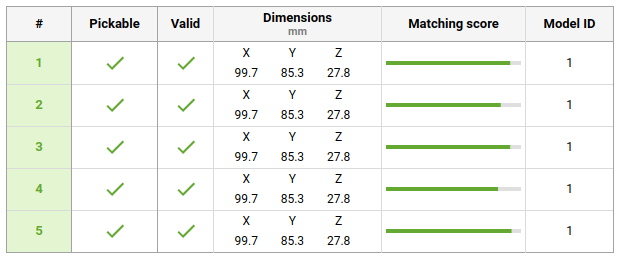
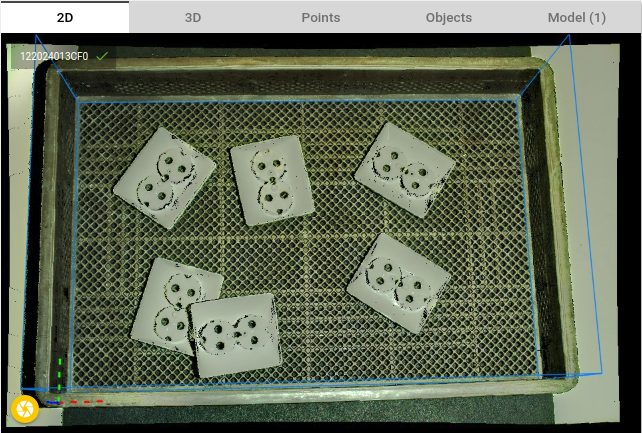
Place different objects in different positions of the Region of Interest. In the image below, a part is placed in each of the four ROI corners, and in the middle of the ROI at an angle.
Trigger a detection.
Go to the Objects view and see if all the found fits are good.
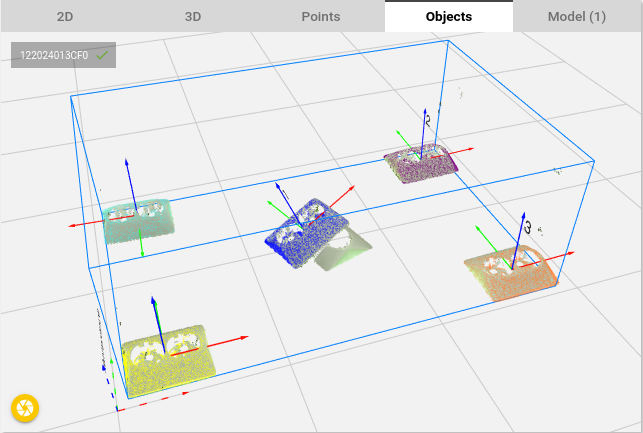
Now in the objects table you see the matching score that is needed to accept these fits. This will be the upper bound for the Minimum matching score.
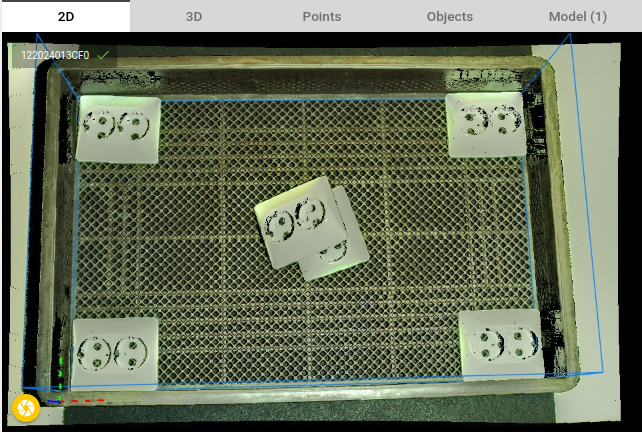
Next, a scene is created with bad objects. In the image below all parts are turned upside down.
Trigger a detection.
Go to the Objects view and study the obtained results. In the image below one object is found, but is labeled red, a bad fit. If only one fit is found and shown in red, it means that this is the best bad fit that is found by Pickit.

In the objects table you see the matching score that would be needed to accept this fit. This will be the lower bound for the Minimum matching score.

A good value for the Minumum matching score lies between the lower and upper bounds from the previous steps.
Test the new parameter value, and fine-tune it if necessary. The higher the value is set the more strict Pickit will be before accepting a fit. The lower the value is set the less strict Pickit will be before accepting a fit.
Hint
If your part has multiple models. Dissable all models, and set the correct values for one model at a time by enabling only a single model.