Warning
You are reading the documentation for an older Pickit release (3.1). Documentation for the latest release (4.1) can be found here.
Test your setup
Once you have connected all components together, there are a few tests you can perform to confirm a correct Pickit setup.
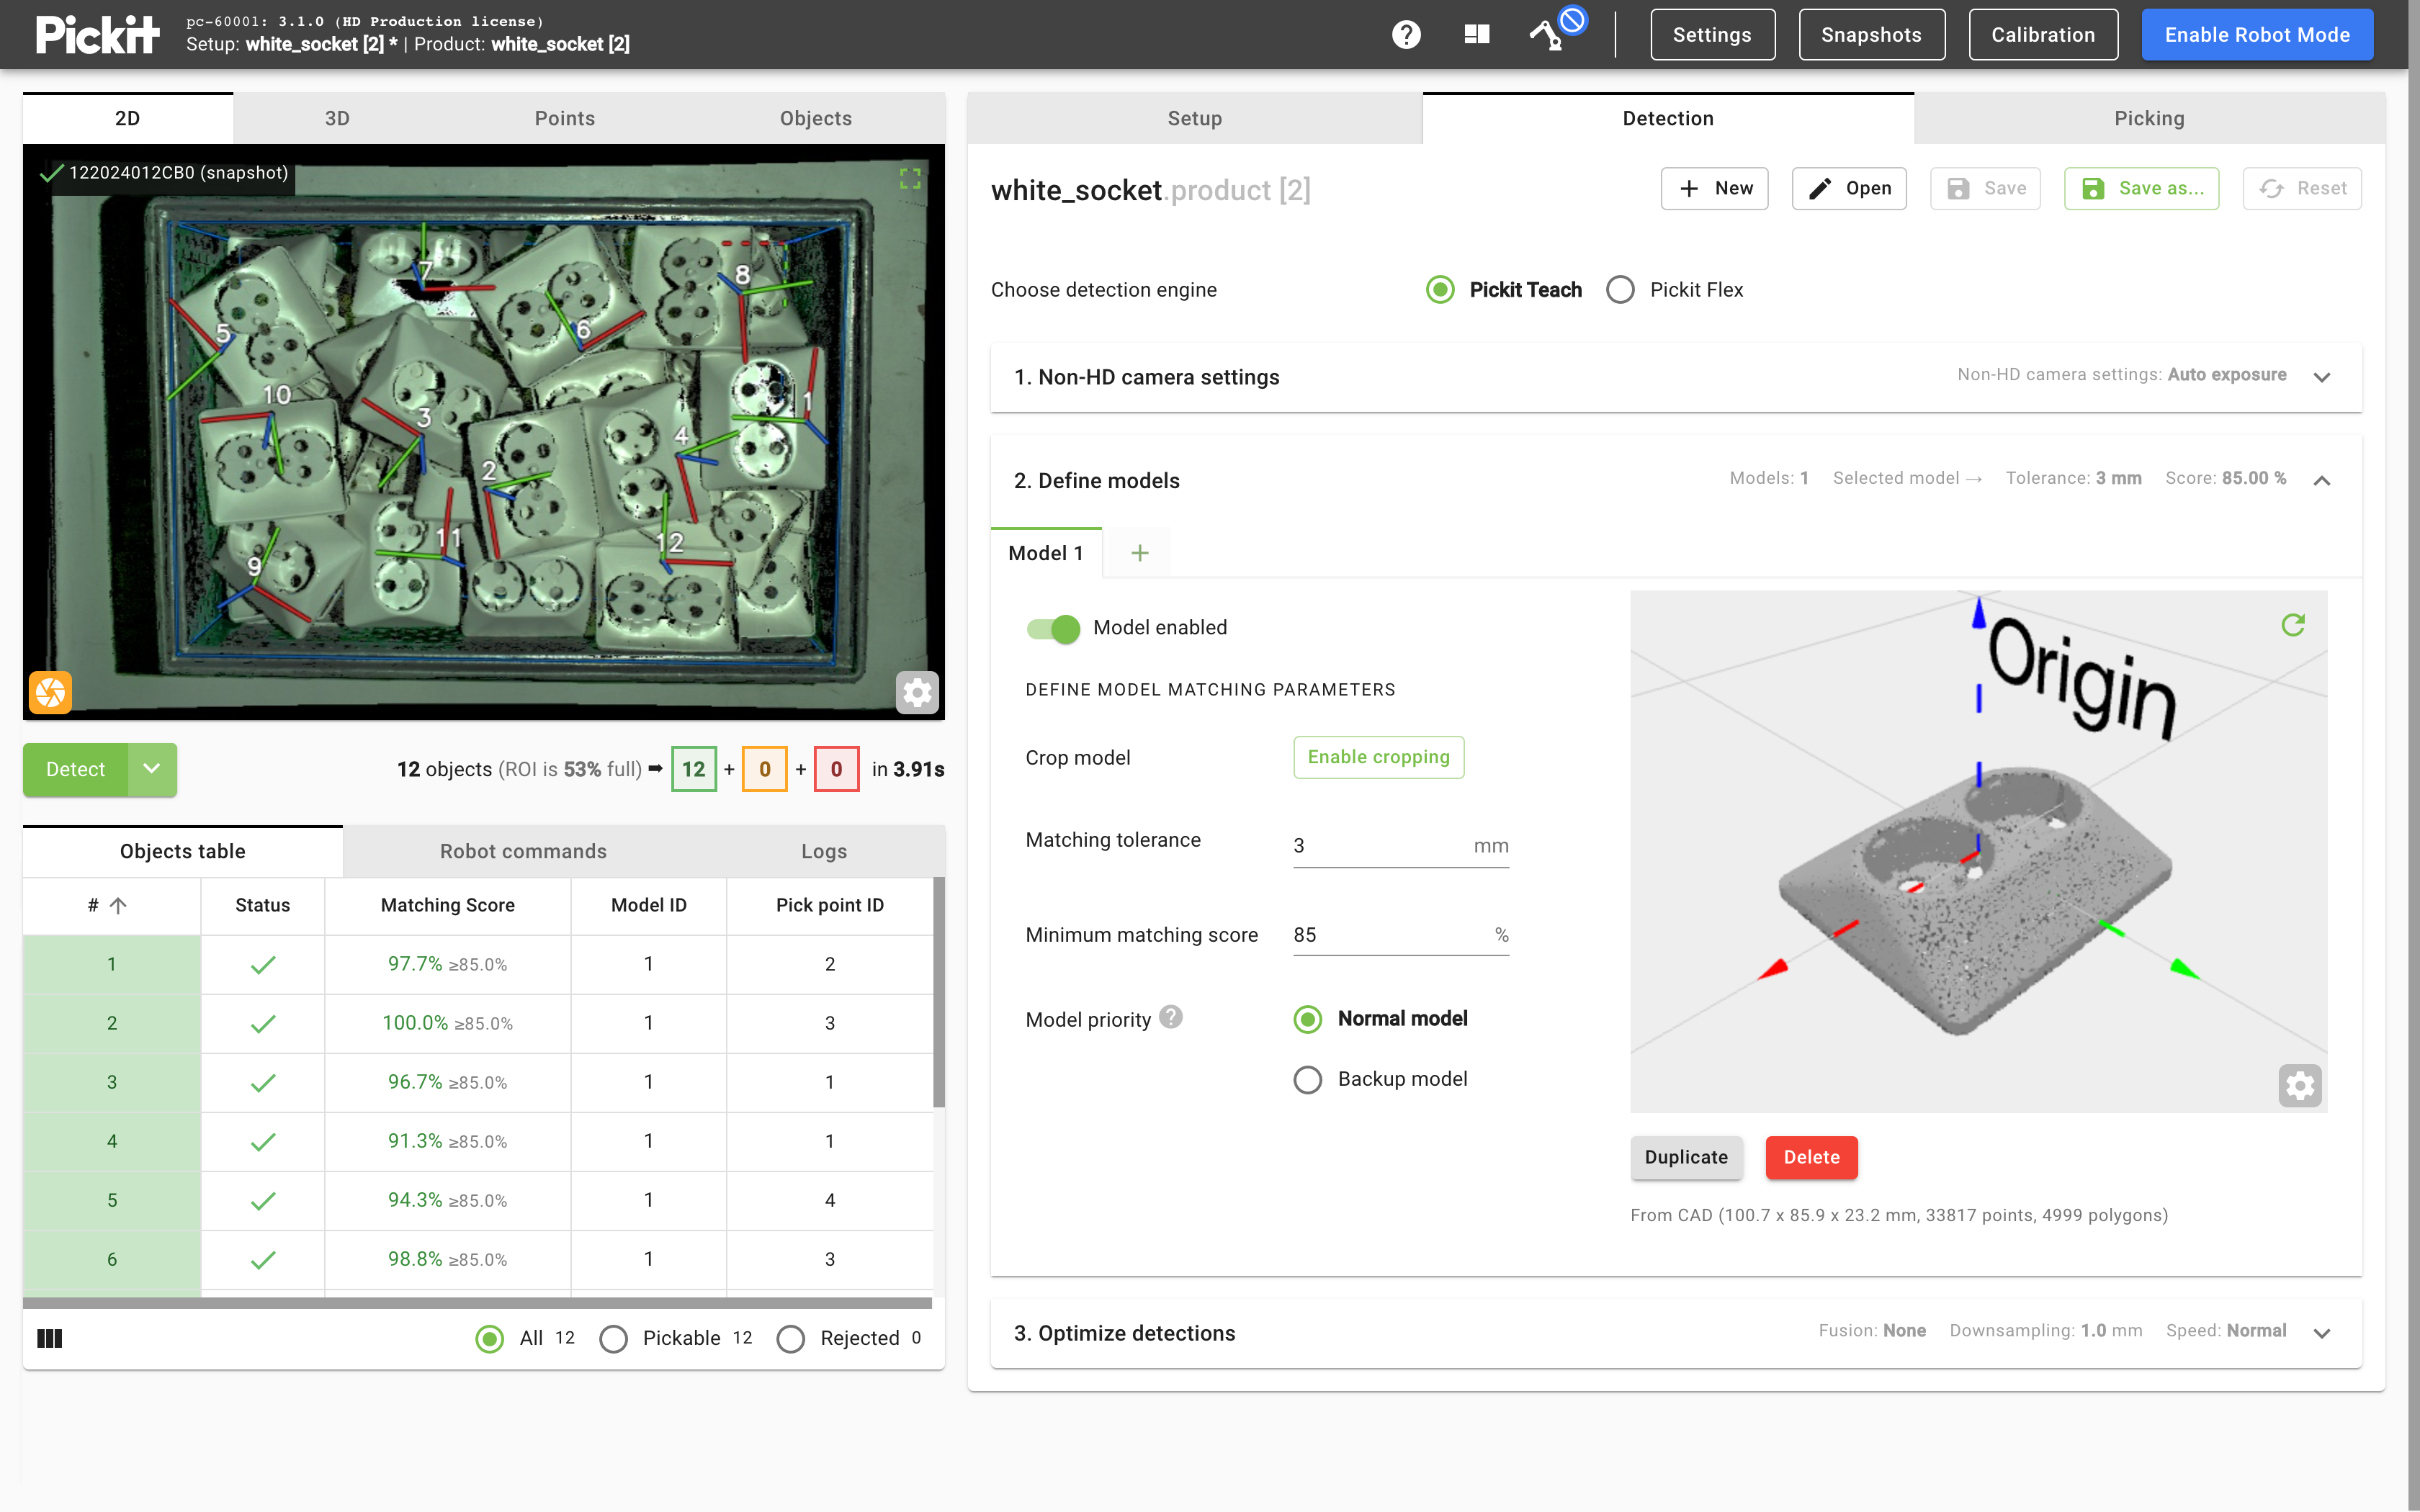
Access the Pickit web interface
The web interface is the means for interacting with Pickit. This test confirms that it can be reached by a previously connected external computer.
From the external computer, open a supported web browser and enter the URL of the Pickit web interface:
For a direct connection, it should be http://192.168.66.1.
For a network connection, it should be the IP address shown in the LAN port configuration.
Tip
Even before setting up your first live object detection scenario, you can explore the example snapshots that ship with Pickit. They showcase the different Pickit cameras on a variety of applications.
Confirm connectivity with the robot
This test confirms that the robot IP address is visible to Pickit.
Access the Pickit web interface, as explained above.
Click the Settings button on the web interface top bar, and navigate to Pickit port labeled ‘ROBOT’.
Insert the IP address of your robot in the section about Check robot IP connection and click Check. The robot IP that is typically used for direct connections is
169.254.5.182.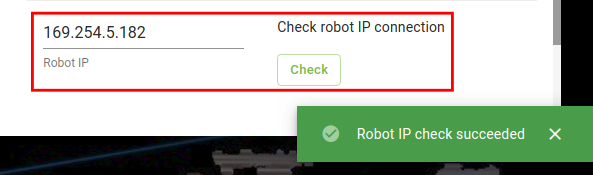
If the above steps work as expected, you’re ready to go. Happy picking! Otherwise, please contact support@pickit3d.com and we’ll help you figure out what’s going on.