Warning
You are reading the documentation for an older Pickit release (3.2). Documentation for the latest release (4.1) can be found here.
Your first calibration
In the previous step, we got to the point of successfully detecting a part with Pickit. In this article, we will learn about robot-camera calibration. Through calibration, Pickit learns where the camera is located with respect to the robot, so it can send part locations to the robot in the coordinates of its base:
Warning
It is required to have a correct robot-camera calibration before starting to pick with a robot, otherwise the robot will move to an incorrect location when attempting a pick.
Connect your robot
Before running robot-camera calibration, Pickit’s robot integration should be installed, configured and running in your robot. Please refer to the Robot integrations section, and follow the instructions for your particular brand.
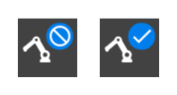
Once the robot integration is running correctly, you should expect to see the robot connection status of the web interface top bar turn from disconnected (below left) to connected (below right).
The calibration wizard
The procedure for robot-camera calibration is different depending on the camera mount. The Pickit web interface has a calibration wizard that guides you step-by-step through the process. To start it, click the Calibration button in the top bar, then Start calibration. The main steps are:
Configure the calibration run, by specifying the camera mount (fixed or robot-mounted) and robot type.
Prepare the calibration plate:
Fixed camera: Attach it rigidly to the robot flange.
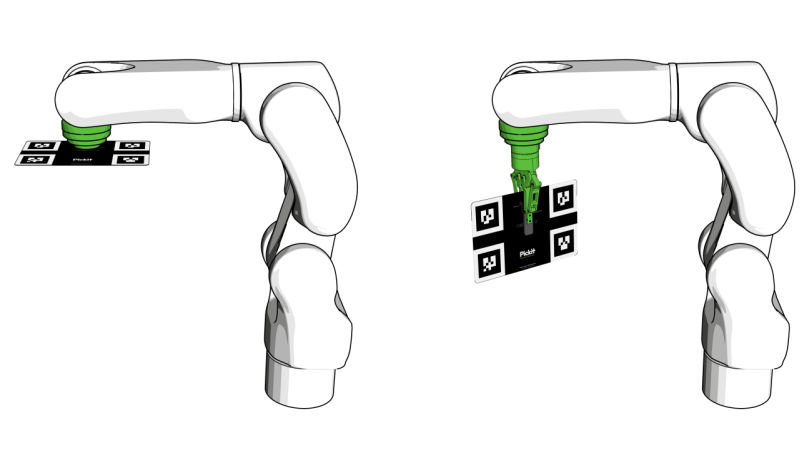
Robot-mounted camera: Place the plate on a surface, at a distance to the camera similar to that at which parts are expected to be picked.

Collect the calibration poses: Follow the wizard as it guides you to collect ten poses from which the plate is visible.
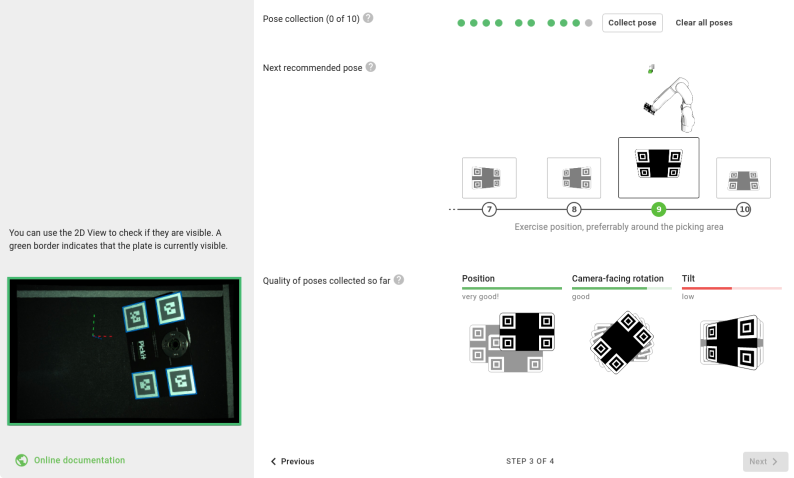
Note
For most robot integrations, you can collect calibration poses by manually jogging or free-driving the robot and clicking Collect pose. If this button is not shown for your robot integration, you need to run a pose collection robot program (learn more).
You can optionally validate the correctness of the results.
Tip
You can learn more about robot-camera calibration in the calibration section of this knowledge base, and in the calibration video tutorial.