Warning
You are reading the documentation for an older Pickit release (2.0). Documentation for the latest release (4.0) can be found here.
Your first detection
Now that all connections are tested we can start our first detection. For this we’ll use a soda can. Note that this is the final step of this quick start guide that can be completed without having a robot. Follow the steps below to do your first detection with Pickit:
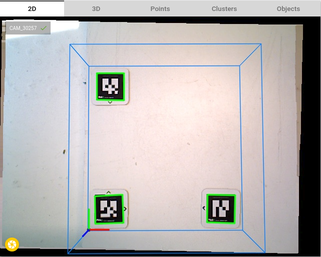
Make sure that the Pickit camera is mounted 700mm above a flat work space. The work space is now seen in the 2D viewer on the Pickit user interface.
In the Pickit user interface press Stop Robot Mode.
In the Configuration tab under create a new setup and/or product fill in ‘Test_Pickit’ twice and press Create.
Place the three workspace markers, according the indicated arrows, inside the field of view of the camera.
Go to the Region of Interest > ROI Box filter and press Use Markers. Wait till the blue box is updated.
Set following values for Zmin and Zmax: 10mm and 150mm.
Press the Save button.

In the Detection tab select Pickit Teach.
Now place a soda can on his side in the middle of the marks.
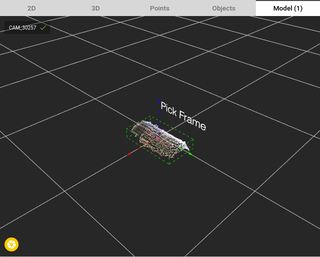
Under define your model(s) press Add a model. Now the model view is opened and a point cloud of the soda can is shown.

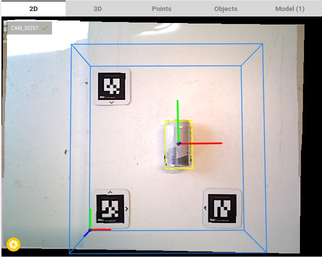
Go back to the 2D view and press Detect, a Pick Frame (red-green-blue arrows) appears above the soda can.
Place the soda can somewhere else in between the markers and press Detect again.
Press the Save button.
Congratulations with your first detections!

Tip
More information about the possibilities of the Pickit system can be found in the Region of Interest or the Teach section.