Warning
You are reading the documentation for an older Pickit release (3.2). Documentation for the latest release (4.0) can be found here.
How to teach a good model
When using Pickit Teach it is important to have a good model. This article goes more into depth on how to make sure that good models are taught to the system.
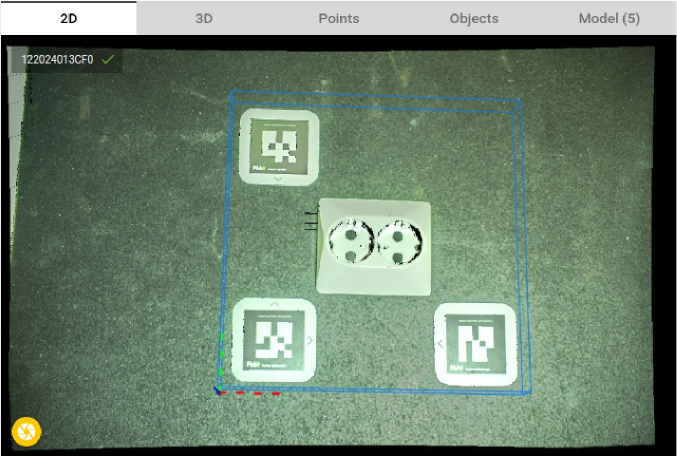
Using the following simple scene as an example, this article explains important attention points when teaching a model.
Let’s start with showing what a good model for this part looks like. In the rest of the article typical mistakes when teaching a model will be discussed. The figure below shows a good model (left) and a successful fit of that model in the scene (right).
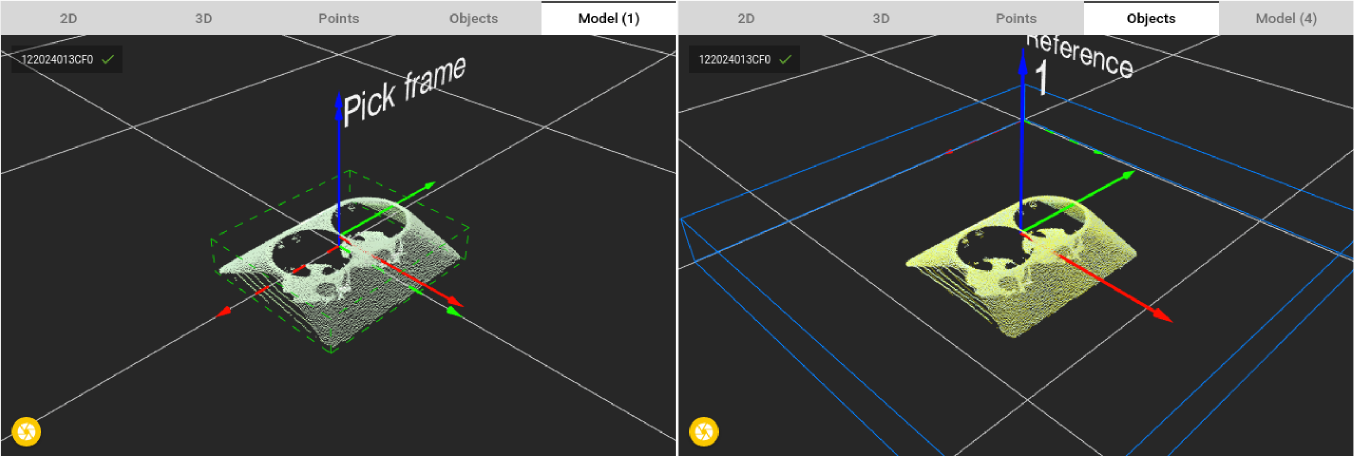
A high quality model has the following characteristics:
Good 3D object features
The detection engine returns the position of parts that look similar to the taught shape. So a good model for Pickit Teach is a model with many distinctive 3D features.
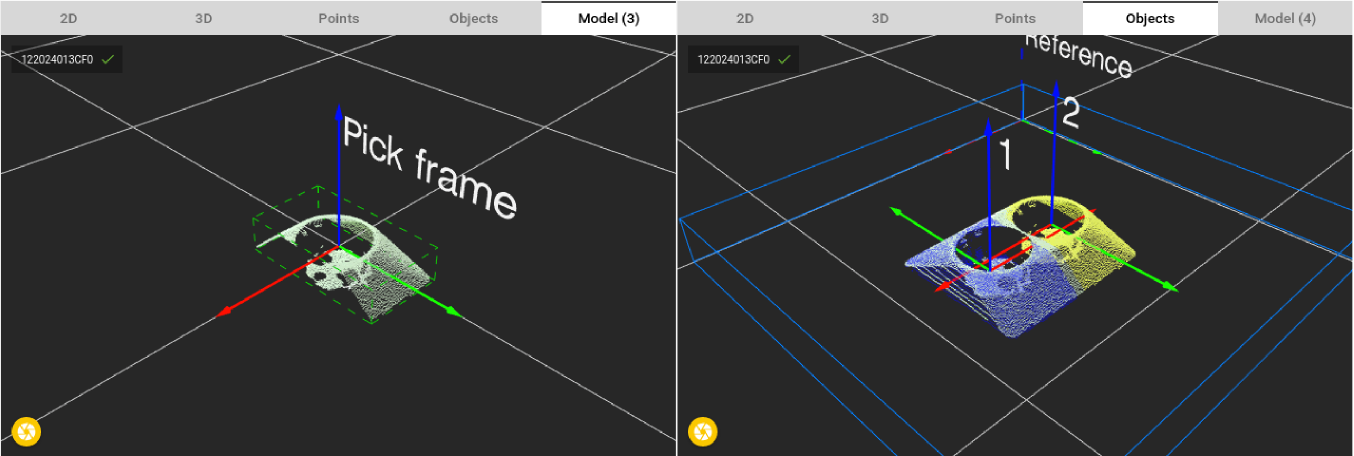
For example in the image below only half a model is taught. Now this model is fitted twice on each part, because it fits perfectly on both sides.
One step further would be to really zoom in on a small part. In the image below the taught model is only a small part of the sides. This model doesn’t have specific 3D features and fits in many places in the scene.
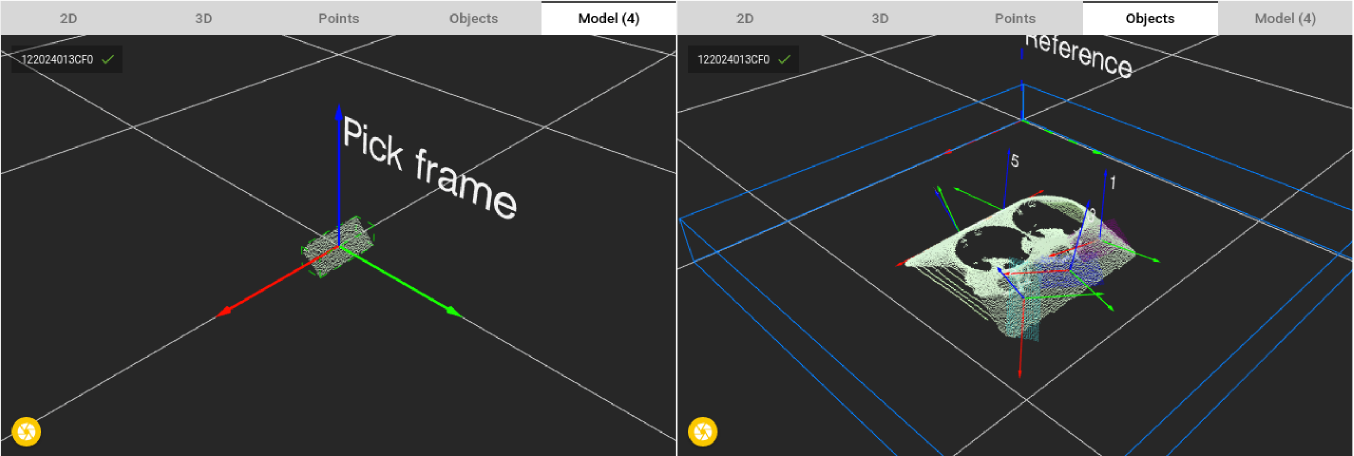
Note
This can be expected behaviour for certain applications.
Clean (no outlier points)
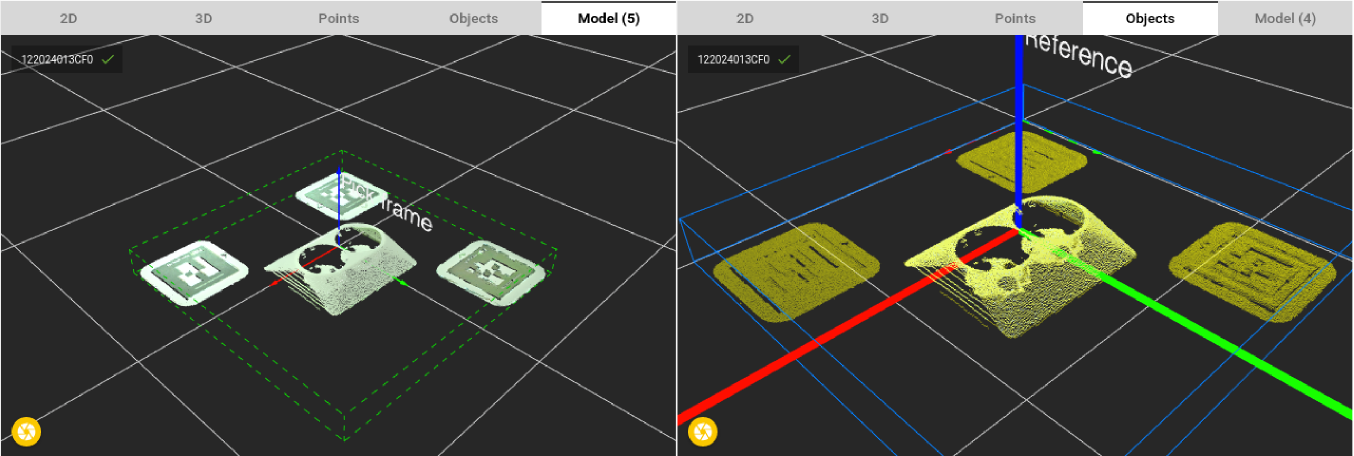
When teaching the model it is important that only points that belong to the part are included. Avoid surrounding points not belonging to the part. When you first teach a model, it will contain all points in the Region of Interest (ROI), but it’s possible to modify its boundaries by cropping or expanding the model cloud. In the example below, the bounding box around the model is too large, and unexpectedly captures the three ROI markers that surround the part. When including unexpected regions of the scene in the part model, Pickit will also look for them, which will affect negatively detection results.
Note
The green bounding box around the model visualizes clearly if additional noise points are present in the taught model. See the difference between the good model in the beginning of the article and bad model shown here. A good model has a tight bounding box around itself.
It matches what you are looking for
In the final example the wrong side of the part was taught. This of course leads to bad detections. Before teaching models it is good practice to think about which side is most likely to be shown to the camera in your application. If multiple sides of a part are potentially visible, you should teach more than one model (See article Explaining the Teach detection parameters).
