Warning
You are reading the documentation for an older Pickit release (2.3). Documentation for the latest release (4.0) can be found here.
How to define a good pick point
When using Pickit Teach, the pick point is the location where the Tool Center Point (TCP) of the robot will be guided to. A well-specified pick point makes programming the robot easier, as you don’t need to specify part-specific offsets. This article focuses on how to define a good pick point for your application.
A good pick point is an application-level choice, as it not only depends on the part to pick, but also on the type of gripper that will be used. The use cases below illustrate how the same part requires different pick points when picked with different grippers.
Use case 1: picking a power socket with a two-finger gripper
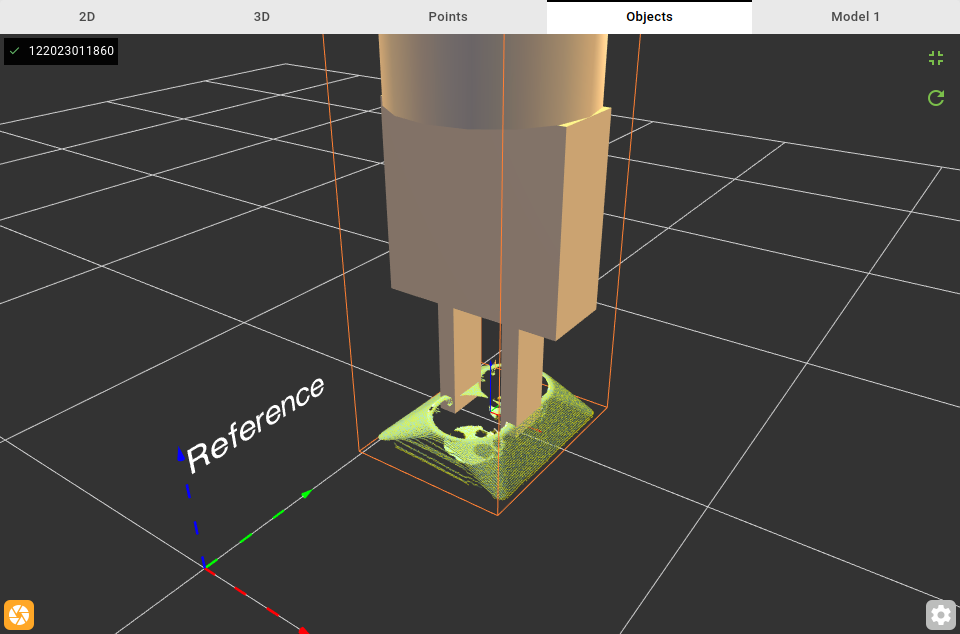
As a first example we want to pick parts with a two-finger gripper. In the image below both gripper and part are shown. This initial pick point corresponds to the default generated by Pickit, and it’s clearly a bad choice, as the gripper collides with the part and doesn’t have a good surface to pinch between the fingers.

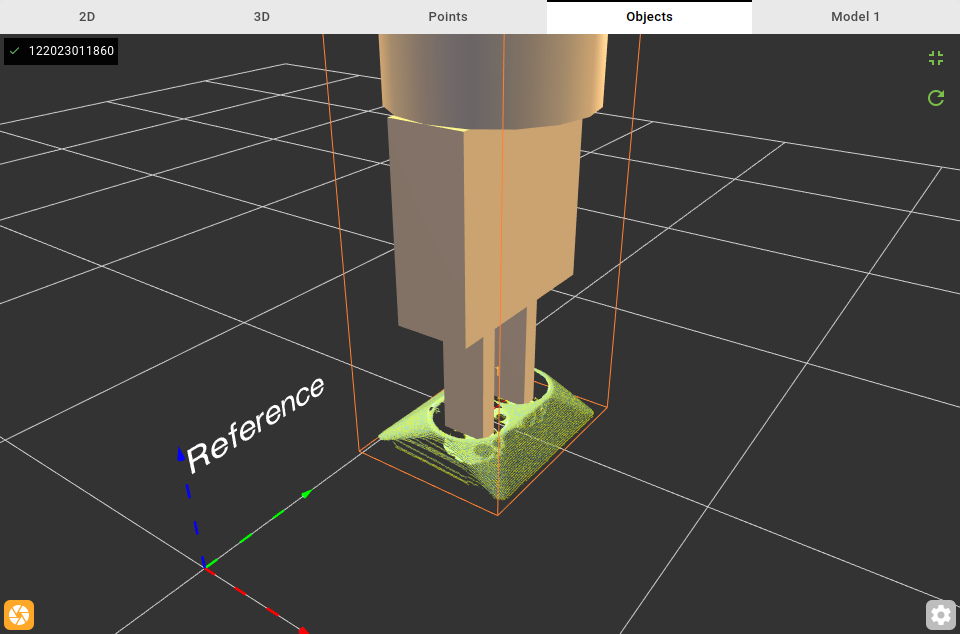
The way the gripper approaches the part can be changed by altering the orientation of the pick point in Pickit. In the image below, the pick point is rotated by 90 degrees around the z-axis. This way, the fingers of the gripper will go into the holes of the part, such that when the gripper closes, it will pick the part.

Use case 2: picking a power socket with a vacuum gripper
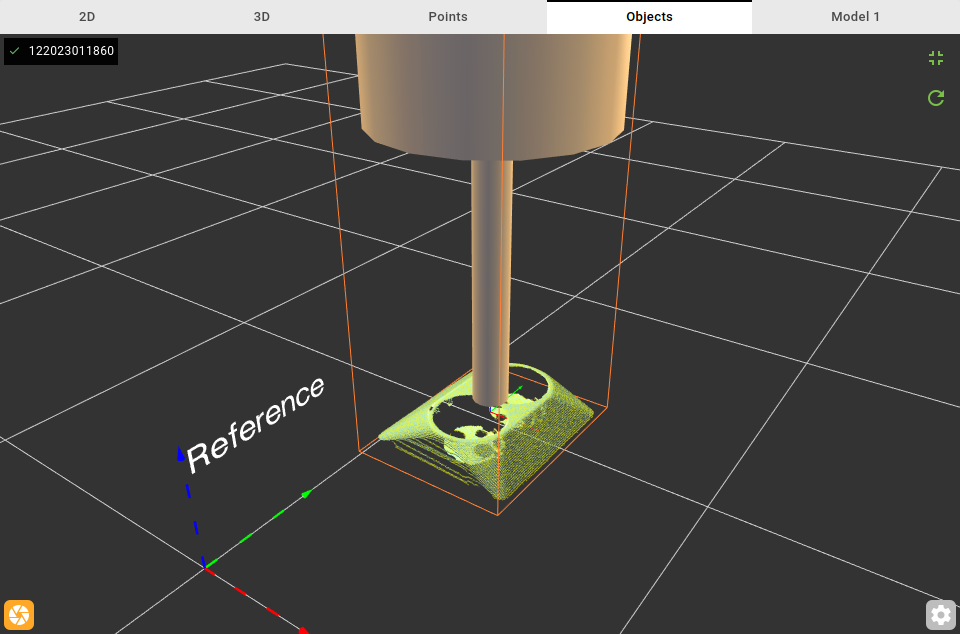
The next example shows the same part, but now we want to pick it with a vacuum gripper. Using the pick point of the previous example would not be a good choice in this case, as there is not enough surface for the vacuum gripper to attach to the part.

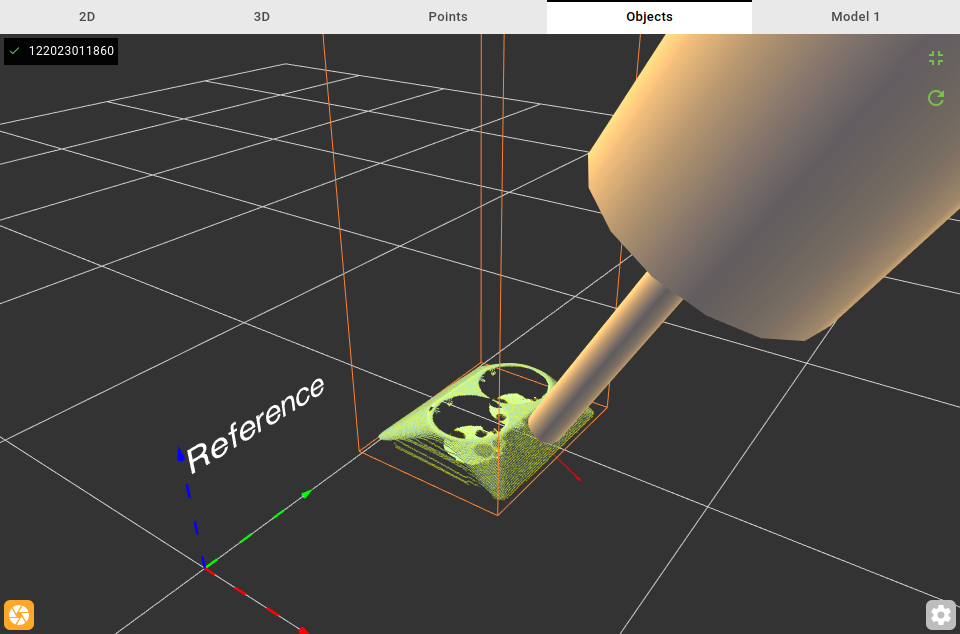
A better pick point for a vacuum gripper would be along the smooth surfaces at the side of the part, oriented such that the gripper approaches perpendicular to it. This is shown in the image below.
