Teach model from camera
Teaching an object model is the most important step when setting up the Pickit Teach engine to detect your object. The model is the only thing that is used by Pickit Teach to search for your objects in a scene, so a better quality model results in better detections. A high-quality camera model has the following characteristics:
It contains as many details of the object as possible,
It contains only points that belong to the object itself and
It exactly matches the side of the object that you want to detect.
Continue reading to learn how to build a high-quality model.
Placing the object under the camera
Place your object under the camera and try to put it as close as possible to the camera to capture the most details while making sure that the object is lying fully in the field of view of the camera. It’s useful to keep the 2D view open so you see what the camera sees.
Isolating the object
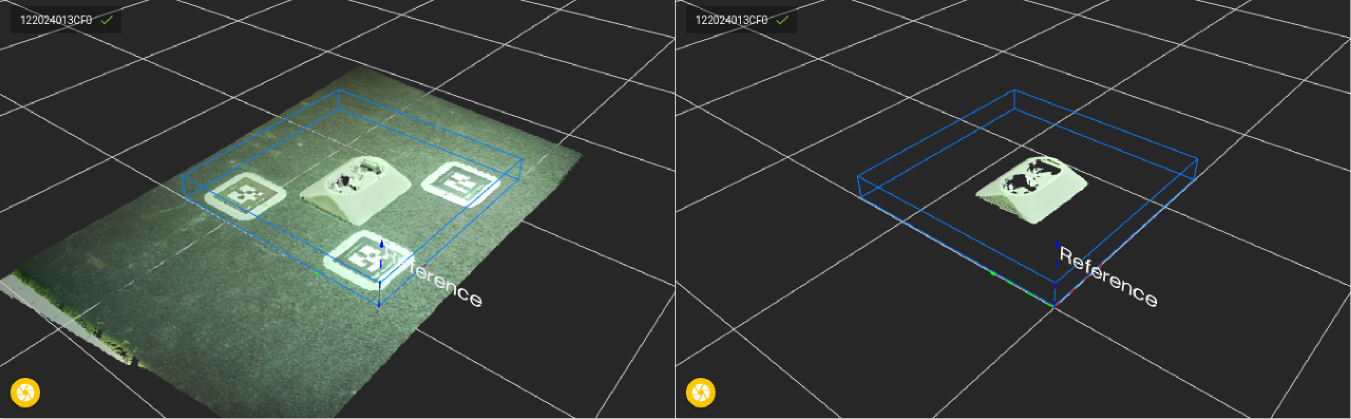
Before creating a model of the object, we need to isolate the part from its surroundings to make sure that only points belonging to the object are captured in the model. This is done by using the Region of Interest.
Go to the Setup page and, in the Fine-tune ROI box section, modify the Region of Interest (ROI) box boundaries until only points that belong to your objects are inside the ROI box. When you’re done adapting the boundaries, you’re ready to go to the next step.
Adding a model
In this step, the actual model will be taught and saved. Go to the Detection page and select the Pickit Teach engine. Open the ‘Define models’ section. Here you will see a widget that allows adding models.
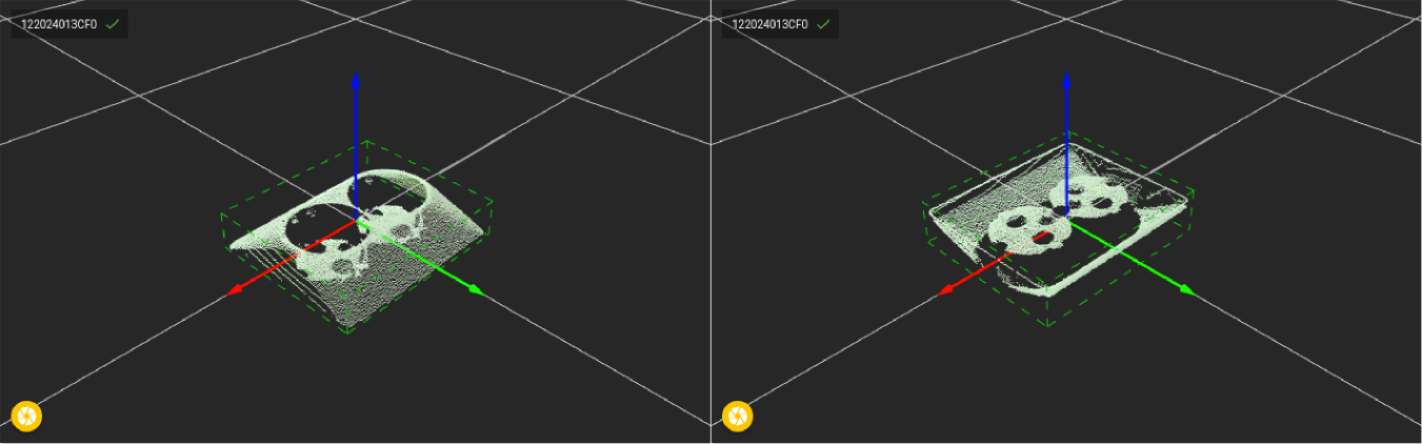
To add a new model, click Teach from camera. Before clicking this button, make sure that the previous steps are completed so that the correct side of the object is oriented to the camera. When a new model is successfully defined, a new model tab will be created. The number in the tab represents the model ID. A 3D visualization of the model also appears in the tab. The model origin is the crop box center, and the axes of the origin frame are oriented like the ROI frame.
Below, two models of the same part are shown. The first model is the shape of the top of the part. The second model is the shape of the bottom of the part.
Learn more tips about teaching a good model from camera here. After teaching a model for the first time, it’s possible to edit it in different ways.