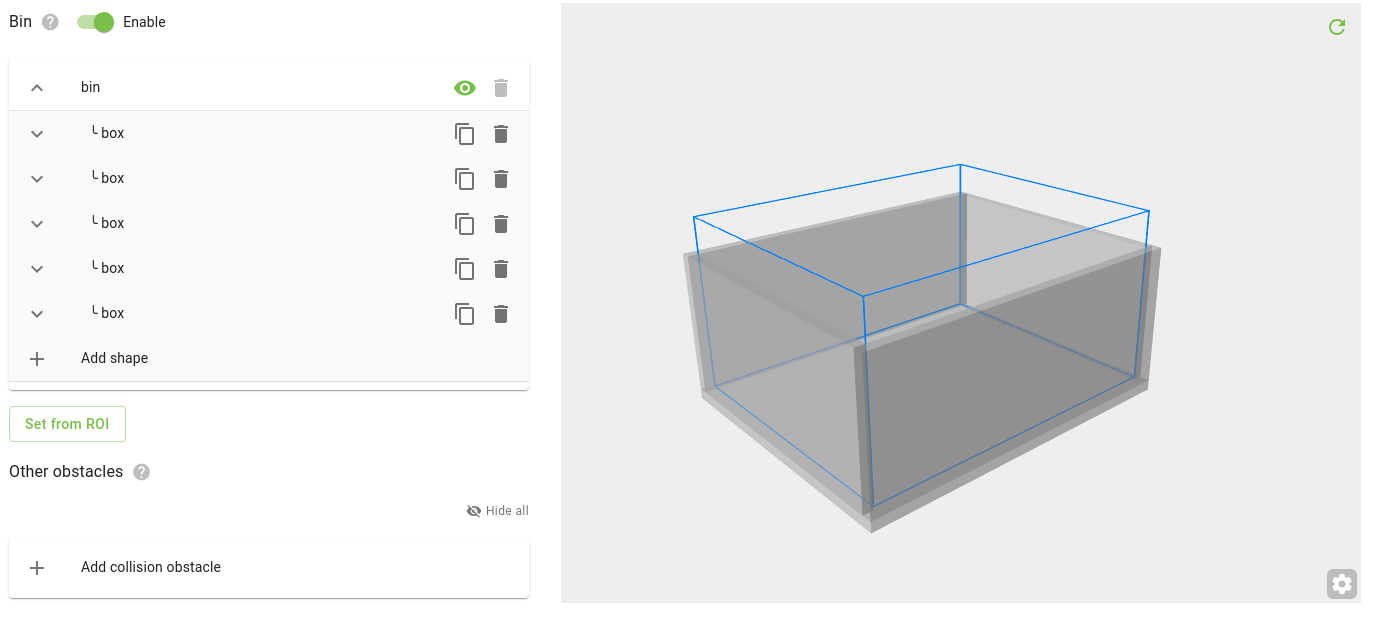
The bin collision obstacle
In bin picking applications, the most commonly modeled obstacle is the bin. When seen from above, some of its walls might not be visible to the camera, yet collision prevention is expected to work for the full bin. For this reason, the bin geometry can be explicitly modeled as part of the collision environment.

Initialization
Clicking Set from ROI opens a popup where you can initialize the bin from the ROI box. In the simplest case, the ROI box might be a good approximation for the bin (below left), but you can set custom dimensions, location and thickness. For example, when bin contents can overflow, it is customary to make the top of the ROI box higher than the bin top (below center, right).
Tip
For box-like bins, it is recommended to initialize it with the Set from ROI button, instead of manually adding the individual shapes that make up the bin.

Once your bin has been initialized, you can further edit it by modifying the existing shapes (sides and bottom), as well as adding or removing new shapes. This is useful for modeling bins that are more complex than a simple box. In the examples below, one can see:
Left: A bin with an open side, where one of the side shapes has been modified.
Center: A bin with handles, where two extra box shapes have been added to model the handles.
Right: A bin with slanted walls, where the four sides have been rotated.

Bin attachment
The bin collision obstacle is attached to the ROI frame, so:
If the ROI frame moves (because the ROI was rebuilt or fine-tuned, for instance), the bin will move together with it.
If the ROI dimensions change (for similar reasons as listed above), it might be the case that the bin shape must also be updated, and a warning is displayed in the web interface.
