Mount the camera
The first thing to consider when mounting a Pickit camera is its location, and in particular the distance between the camera and the parts. A number of best practices for this purpose are outlined here. We recommend that you test part detection and picking across the entire picking region (eg. full bin vs empty bin, bin center vs bin edges) before commiting to a mounting location.
Once you have found the right camera location, make sure that it is rigidly fixed to its mounting structure (fixed camera) or robot (robot-mounted camera). Vibrations caused by robot motions or other machines operating nearby might alter the camera position, invalidating the robot-camera calibration and resulting in picking errors.
If the camera is fixed, make sure the expected robot motions don’t collide with the camera or its mounting structure.
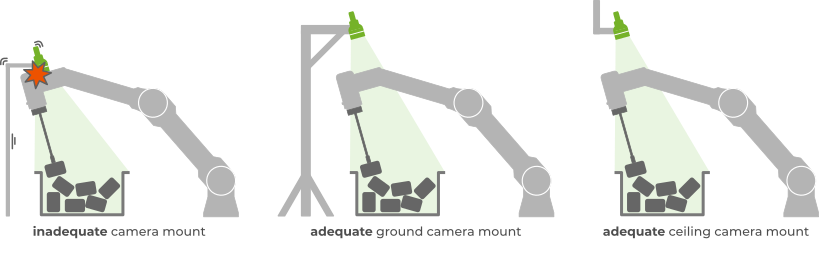
If the camera is robot-mounted, make sure that it is also well-protected against unexpected collisions with the environment in all directions. The idea is that the camera protection might suffer deformation or damage on collision, but leave the more expensive camera intact.
As a general rule, robot-mounted cameras should be attached to the robot tool, that is, downstream of the last robot joint. If this would not be acceptable for your application, please contact support@pickit3d.com to discuss available options.
The following table lists the recommended camera attachments:

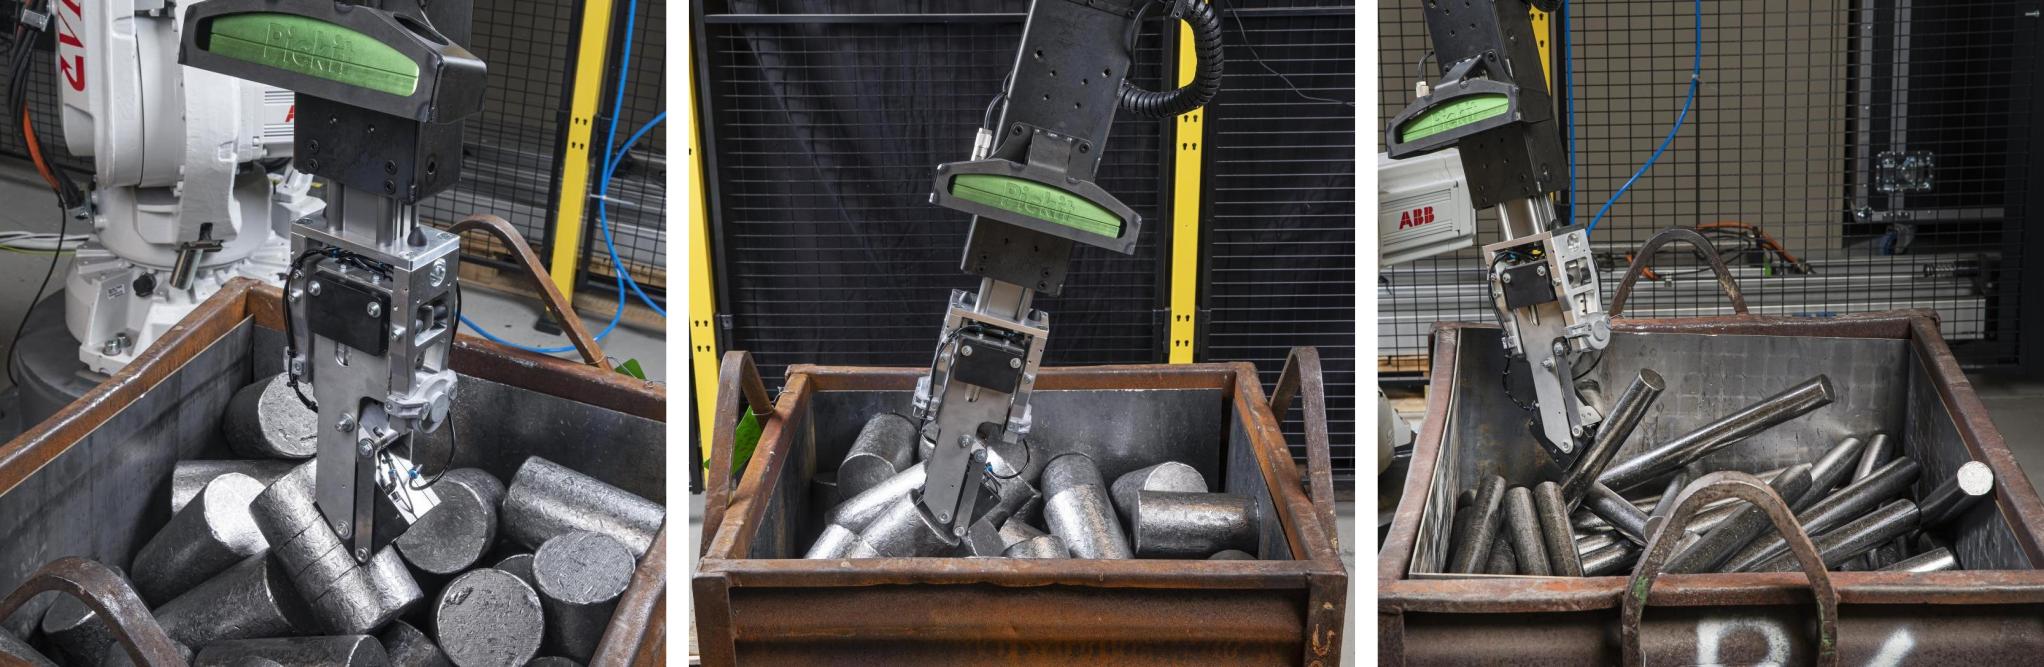
The Pickit billet picker is one example of a robot-mounted camera attachment that is both rigid and protects the camera against unexpected collisions.
Tip
Once the camera has been mounted, it is recommended to connect it taking into account the camera cable best practices.