Warning
You are reading the documentation for an older Pickit release (2.1). Documentation for the latest release (4.0) can be found here.
The Pickit Omron TM interface
Pickit integrates seamlessly with Omron TM cobots by means of a set of TMflow components. Each component is a building block for creating vision-guided applications with Pickit. This article documents the interface of the Pickit TM Components. For installation instructions please refer to the Omron TM Component installation and setup article.
Components
Pickit provides a set of components that add to the set of existing TM nodes. This section describes the purpose of each component, the meaning of the input parameters (if any), as well as that of the output gateway states.
To insert a component instance into your robot program, click on one of the Pickit components listed on the left panel and drag it into your program. This is how Pickit components look like:
Note
The naming convention for TMflow components is
Application_Provider_Vendor_Version_Function, which for Pickit corresponds to
perception_pickit_pickit_Vxx_Function.
Pickit components only differ on the Function name, so throughout this article the common prefix is omitted for brevity.
Note
Currently, all Pickit components are displayed with the same icons and the same label pickit_Vxx on the left panel, but their function names are shown when they are dropped into the program flow.
A general note on introspecting component behavior is that the g_perception_pickit_user_msg global variable holds human-readable status updates from all components.
For instance, when a component exists with an error state, the value of this variable can be shown in a Display node to get an insight on the failure reason.
Refer to the pick and place example for the recommended usage.
init
Initializes the connection with a Pickit system and handles communications with it. It should be the first Pickit component to appear in a robot program.
Parameters
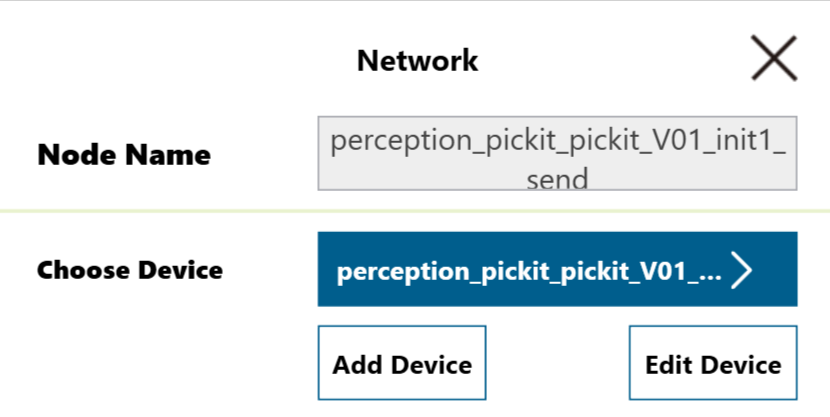
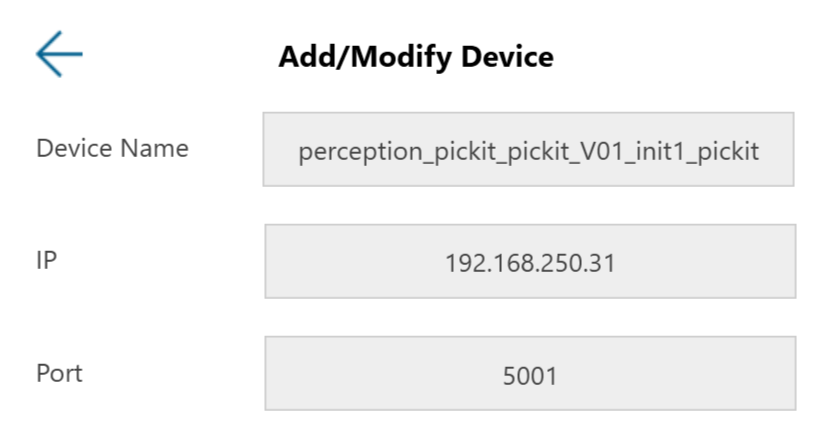
Pickit IP address: It can be modified by editing the
perception_pickit_pickit_V01_init1_pickitdevice of the internalsendnode:
Output
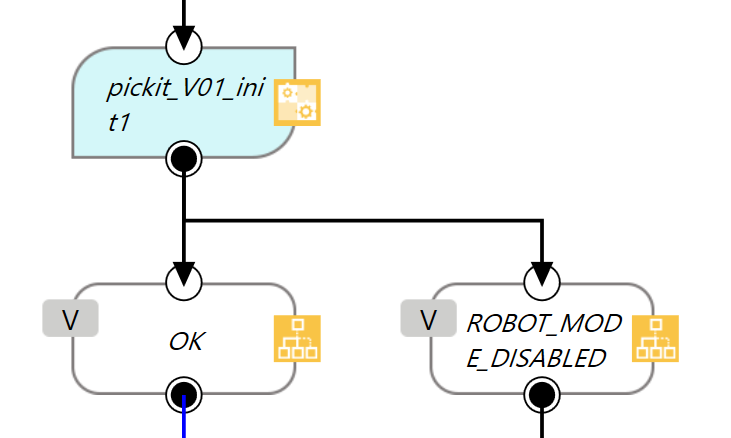
OK if robot mode has been enabled, ROBOT_MODE_DISABLED otherwise.
Robot mode is enabled in the Pickit web interface, and is a requisite for performing picking operations, but not robot-camera calibration.
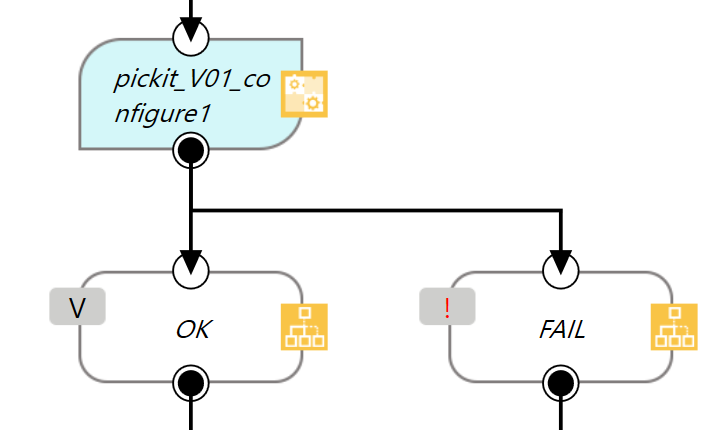
configure
Loads a specified setup and product configuration. This specifies the behavior of Pickit detections, i.e. where and what to look for.
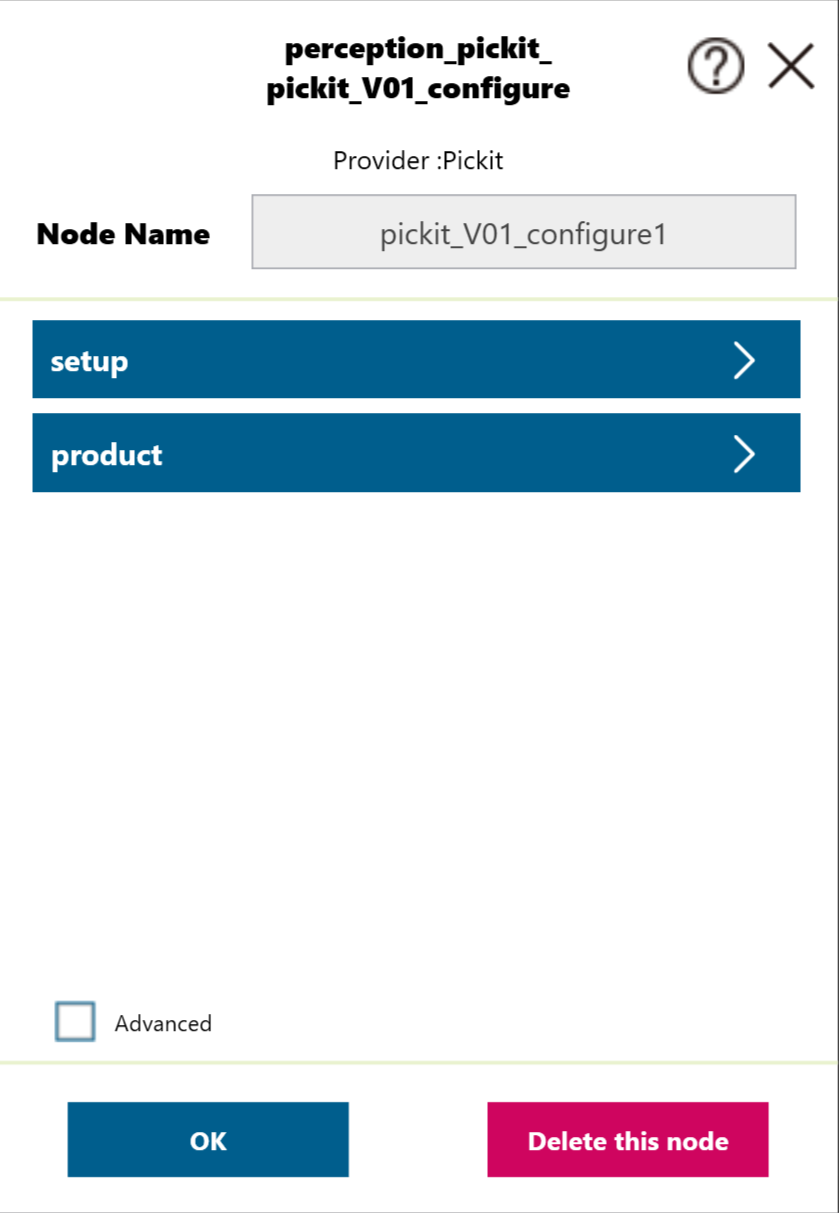
Parameters
Setup and product ID: Available configurations are listed in the Pickit web interface.
By default, the IDs correspond to invalid values, so it is required to edit these parameters.
Output
OK if the requested configuration was successfully loaded, FAIL otherwise.
The most typical failure reason is specifying non-existent IDs.
findObjects
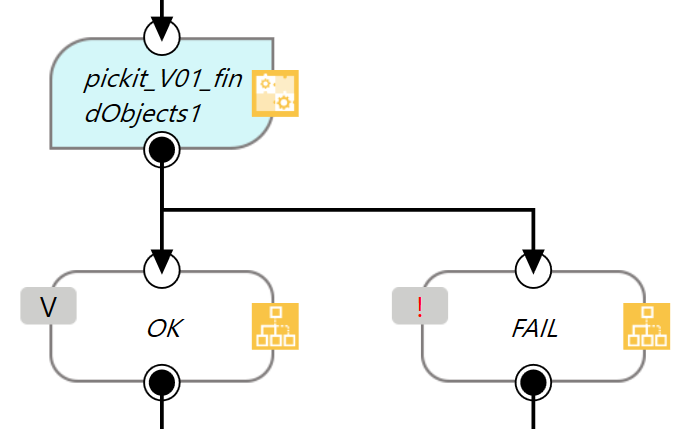
Trigger a Pickit object detection using the currently active setup and product configuration.
The next Pickit component after findObjects should always be getResult, which waits until a response for the detection request is ready.
Tip
It’s valid (and sometimes encouraged) to perform robot motions or other non Pickit actions between calls to findObjects and getResult. For instance refer to the Example pick and place program for such an application.
Parameters
This component has no input parameters.
Output
OK if the object detection was successfully triggered, FAIL otherwise.
nextObject
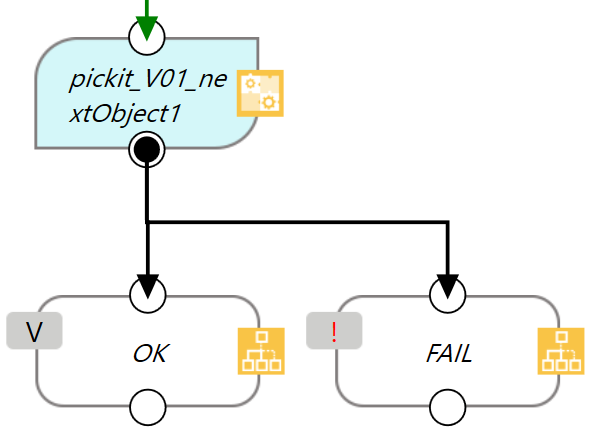
Request the next detected object.
A single call to findObjects might yield the detection of multiple objects. nextObject allows to request the next available object, if any, without the need of triggering a new detection and the time overhead it entails.
The next Pickit component after nextObject should always be getResult, which waits until a response for the request is ready.
Tip
It’s recommended to use this component only when objects in the detection region have not moved (significantly) since calling findObjects. A good example of when to use nextObject is when a detection is unreachable by the robot.
Parameters
This component has no input parameters.
Output
OK if there is a next detected object, FAIL if the set of detected objects has been exhausted.
getResult
Wait for Pickit reply with detection results. This should always be the next Pickit component after a findObjects or getNextObject request. It blocks the robot until a reply from Pickit is received. When an object has been found, the following global variables are populated:
g_percepton_pickit_poseObject pick pose.g_percepton_pickit_dimObject dimensions.g_percepton_pickit_typeObject type.g_percepton_pickit_remaining_objNumber of remaining object detections from the last call to findObjects. After first calling getResult, this variable contains the total number of object detections minus one. This value is also equal to the number of times getNextObject can be called. As such, the value decreases with each call to getNextObject.
Parameters
This component has no input parameters.
Output
Pickit can discriminate the following scenarios, for which the robot program can take action upon:
OBJECT_FOUND: A valid object has been found.NO_OBJECT_FOUND: There are no pickable objects, yet the Region Of Interest (ROI) is not empty.EMPTY_ROI: There are no pickable objects because the ROI is empty.NO_IMAGE_CAPTURED: Image capture failed, most probably due to a disconnected camera.FAIL: The call to getResult failed, for instance because it was called at the wrong place (not the next Pickit component after a findObjects or getNextObject request).

Warning
As of version 1.72 of TMflow, it is not possible to programmatically check if a pose is reachable by the robot before it gets executed. It is currently recommended that end users focus on applications in which parts are known to be always reachable. When parts can overlap, as in bin picking scenarios, the below methods help in making sure that objects are reachable.
For suction and magnetic grippers that exhibit compliant behavior, enforce pick points with the z-axis pointing up. This constraint modifies the pick point orientation such that the tool always approaches the part straight down. This can be set in the Picking tab, under Pick strategy.
For fingered grippers, ignore parts that are too tilted wit respect to the reference frame Z-axis. This setting is also in the Picking tab, under Collision prevention. Set the maximum angle to a low value such as 15 degrees.
saveSnapshot
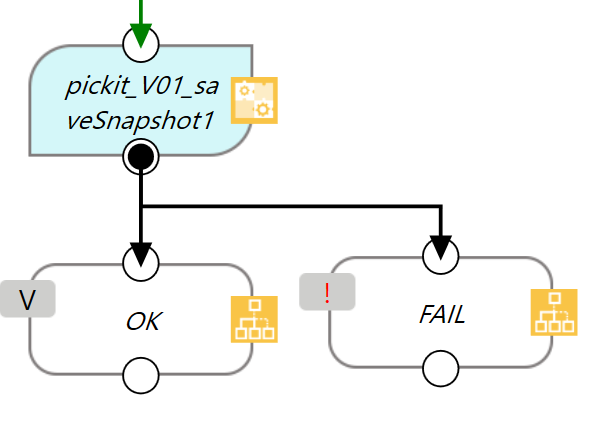
Save a snapshot with the latest detection results. The saved snapshot can then be loaded or downloaded by going to the Snapshots page on the Pickit web interface and searching for a file whose name contains the capture timestamp.
Parameters
This component has no input parameters.
Output
OK if the snapshot was successfully saved, FAIL otherwise.
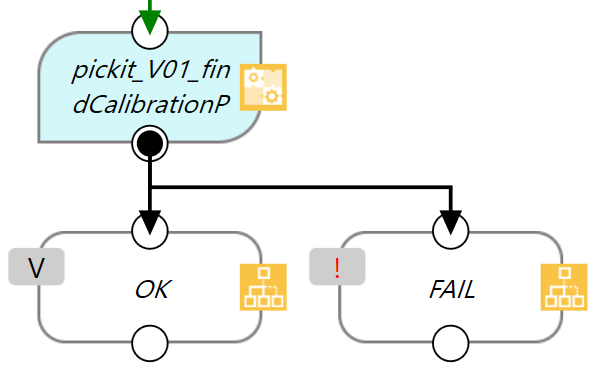
findCalibrationPlate
Trigger detection of the robot-camera calibration plate. This component requires the Pickit web interface to be in the Calibration page.
This component is meant to be used only in robot-camera calibration programs such as the Example robot camera calibration program. It is not meant to be used in picking programs.
Parameters
This component has no input parameters.
Output
OK if the calibration plate was found, FAIL otherwise.
buildBackground
Build background cloud used by some advanced Region of Interest filters. This is an advanced feature, rarely triggered from the robot program in practice.
Parameters
This component has no input parameters.
Output
OK if the background cloud was built, FAIL otherwise.