Warning
You are reading the documentation for an older Pickit release (2.3). Documentation for the latest release (4.1) can be found here.
Multi poses calibration
This article goes through the main steps in the multi poses calibration process:
Tip
You can learn about the main ideas behind multi poses robot-camera calibration by watching this video tutorial.
Fixing the calibration plate
Fixed camera
If the camera is fixed to a static structure, the calibration plate must be mounted on the robot flange. For multi poses calibration it does not matter how the plate is mounted, as long as it’s fixed rigidly to the flange.
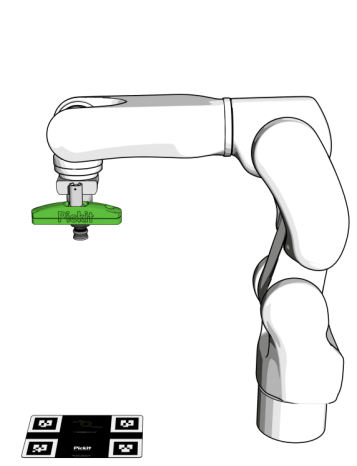
Refer to Installing the Pickit calibration plate for the standard way to mount the plate.
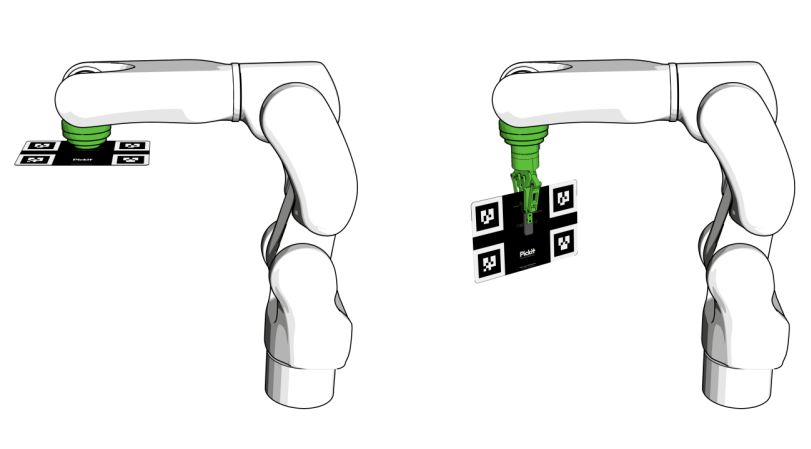
Robot mounted camera
If the camera is mounted on the robot flange, place the calibration plate on a surface, at a comfortable distance from the robot. The location of the plate should correspond to the picking area.
Building the robot program
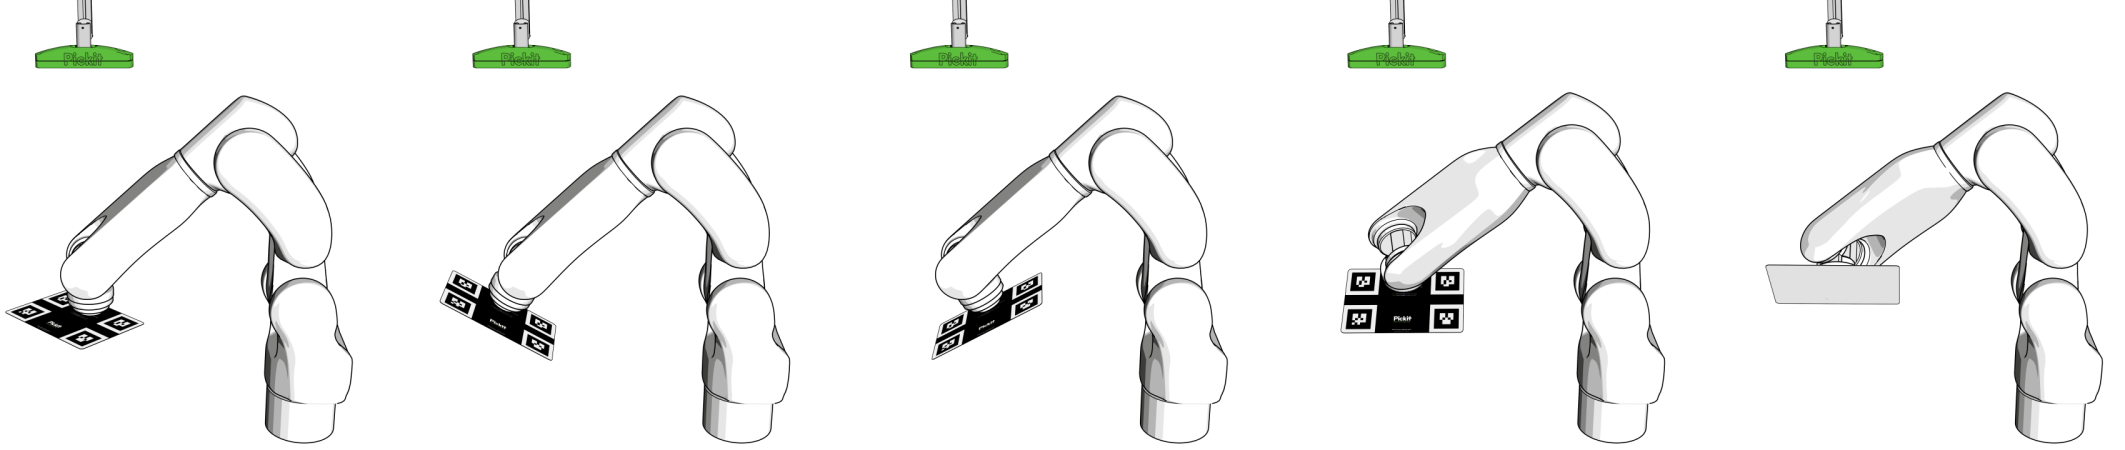
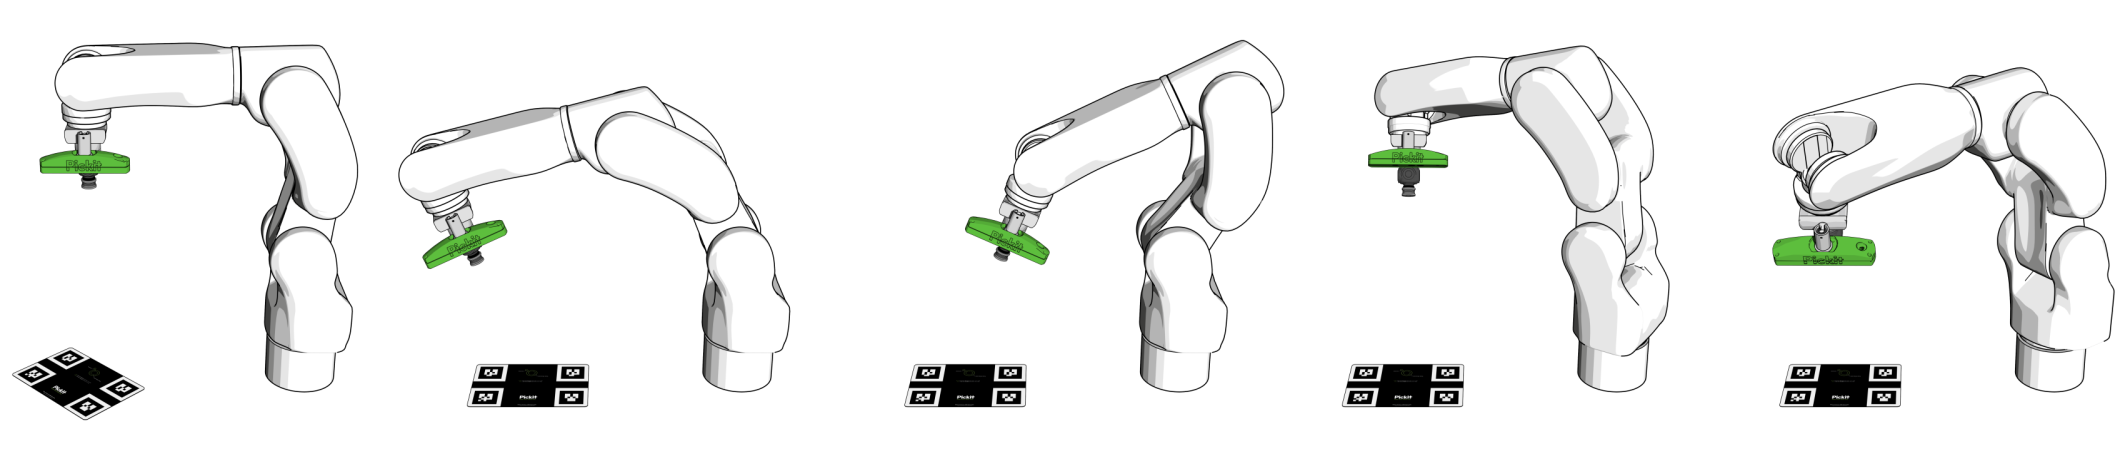
In the robot interface, open the multi poses calibration template program, or create one your own. This program repeats five times the following sequence: move to a waypoint and request Pickit to find the calibration plate. Each of the five waypoints should be defined such that:
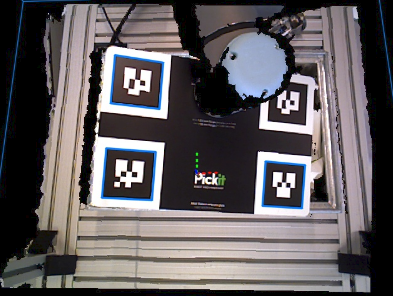
The calibration plate is shown to the robot approximately in the center if the Pickit 2D view.
The calibration plate is presented to the camera at different angles around the X, Y and Z axes of the plate. The angles should be large enough (for instance 30 degrees), while still making sure that the plate is clearly visible in the Pickit 2D viewer.

Program for fixed camera
Move the robot such that the plate is in the middle of the field of view of the camera. Move the flange to five different angle combinations around the X, Y and Z axes.
Program for robot mounted camera
Teach the five waypoints such that the plate always appears approximately in the center of the image, but tilted in different directions.
Calibrating
Click on the Calibration button, located on top bar of the Pickit web interface.
Choose the camera mount: whether the camera is fixed to a stationary place or robot mounted.
Select the correct robot type: 6 DOF or 4 DOF, depending on the number of degrees-of-freedom of your robot.
Choose the multi poses robot-camera calibration method.
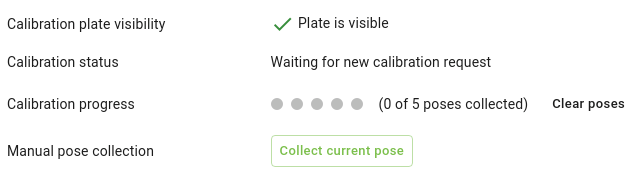
Follow the indicated steps, and run the robot program when instructed. The Pickit web interface shows the progress of the calibration process.

Alternatively, some robot integrations allow manually collecting calibration poses without having to run a robot program. When this is the case, the Collect current pose button is shown below the calibration progress, which should be pressed after manually bringing the robot to the next calibration pose (e.g. by jogging or free-driving):
In the final step, you will see a 3D viewer showing the robot and camera models. Here you can confirm whether the calibration is correct.
4 DoF robots
If your robot has 4 degrees-of-freedom, in the last step of the calibration wizard you will also find a field for inputing:
The distance between the robot flange and the camera, if the camera is mounted on the robot. Notice that, if the camera is mounted at a higher location than the robot flange, this value should be negative.
The distance between the robot base and the camera, if the camera is fixed.
Looking at the camera location in the 3D viewer will help you obtaining the correct value.
Important
After finishing robot-camera calibration, don’t forget to check the calibration result. Go to Checking robot-camera calibration to know how.
Warning
If after calibration the Pickit camera has been relocated or rotated relatively to the robot base, a new robot-camera calibration is required before picking, even if the motion was small.