Warning
You are reading the documentation for an older Pickit release (2.3). Documentation for the latest release (4.1) can be found here.
Fine-tune ROI box
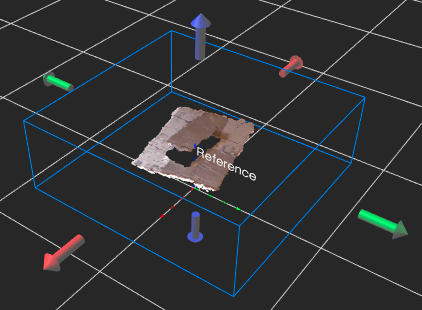
Once an initial ROI box has been defined, you can manually adjust its size. When section Fine-tune ROI box is opened, in the Setup page, colored arrows attached to the ROI are displayed in the viewer (in all views except 2D). Arrows are colored according to the Pickit reference frame direction: X→red, Y→green, Z→blue. You can interactively click and drag the arrows to extend and contract the box along each of its sides.
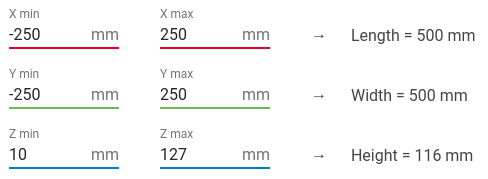
The exact bounds and size of the ROI box are reported in the Fine-tune ROI box section, as shown below. You can also manually set the bound values here and the ROI box will be updated in the viewer.
Note
Only the size and position of ROI box can be changed, not the orientation. To change the orientation the ROI box needs to be defined again as described in the Build ROI box article.
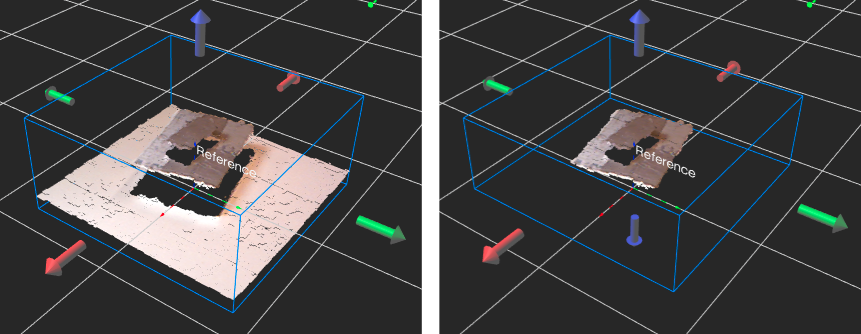
Modify ROI box to remove the ground plane
Removing the ground plane from the ROI box is one of the simplest ways to have faster detection times. The sequence below shows the Points view before and after raising the bottom of the box just above the ground plane.
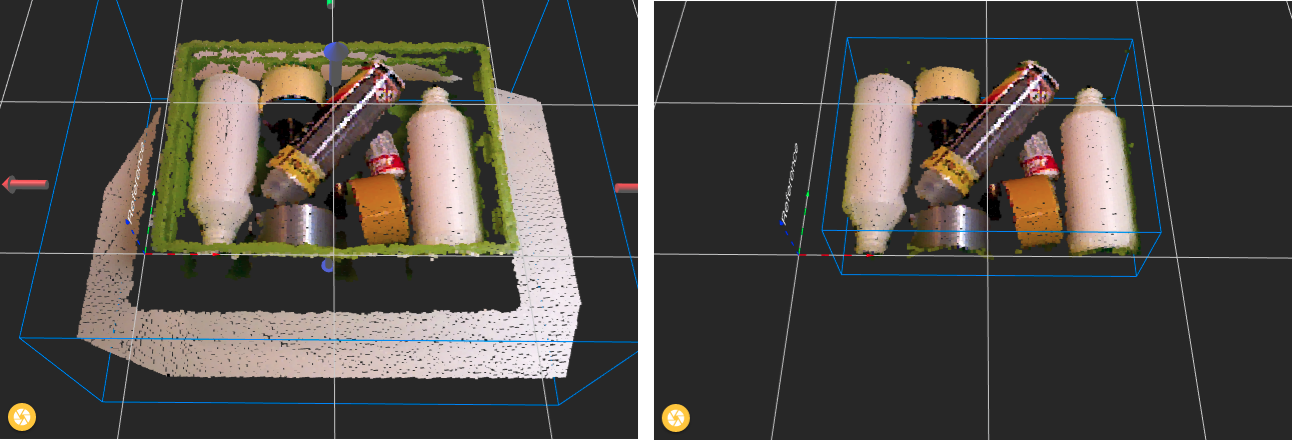
Bin representation with the ROI box
To use the ROI box as an approximate representation of the bin, we recommend to define it Around QR markers, and aligning them with the bin corners. Once the initial ROI box is set with a correct orientation, adjust the borders such that it excludes most bin points, and includes all relevant bin contents. The sequence below shows the Points view before and after adjusting the box boundaries to the inside of the bin.