Warning
You are reading the documentation for an older Pickit release (3.0). Documentation for the latest release (4.0) can be found here.
URCap installation and setup
Pickit integrates seamlessly with Universal Robots by means of a URCap plugin. This plugin allows to perform vision-guided pick and place with minimal programming effort. It offers functionality to:
Connect to a Pickit system.
Perform robot-camera calibration.
Create pick and place robot programs.
This article explains how to install the Pickit URCap plugin.
Pre-requisites
Verify that you meet the minimum required versions for Pickit and Polyscope.
The Pickit version can be verified in the top bar of the web interface.

Tip
Do you have an older Pickit version installed? You can upgrade to a more recent version, or contact our support team at support@pickit3d.com.
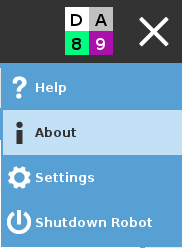
The Polyscope version can be verified by opening the hamburger menu at the upper-right corner and selecting About.

Installing the Pickit URCap plugin
Note
This article contains the installation instructions for Polyscope 5. If using Polyscope 3, you can refer to this article.
To install the Pickit URCap plugin, follow these steps:
Unzip the archive and copy its contents to an empty USB drive.
Insert the drive into the USB port of either the robot controller or the teach pendant while it is turned on.
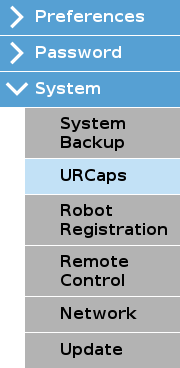
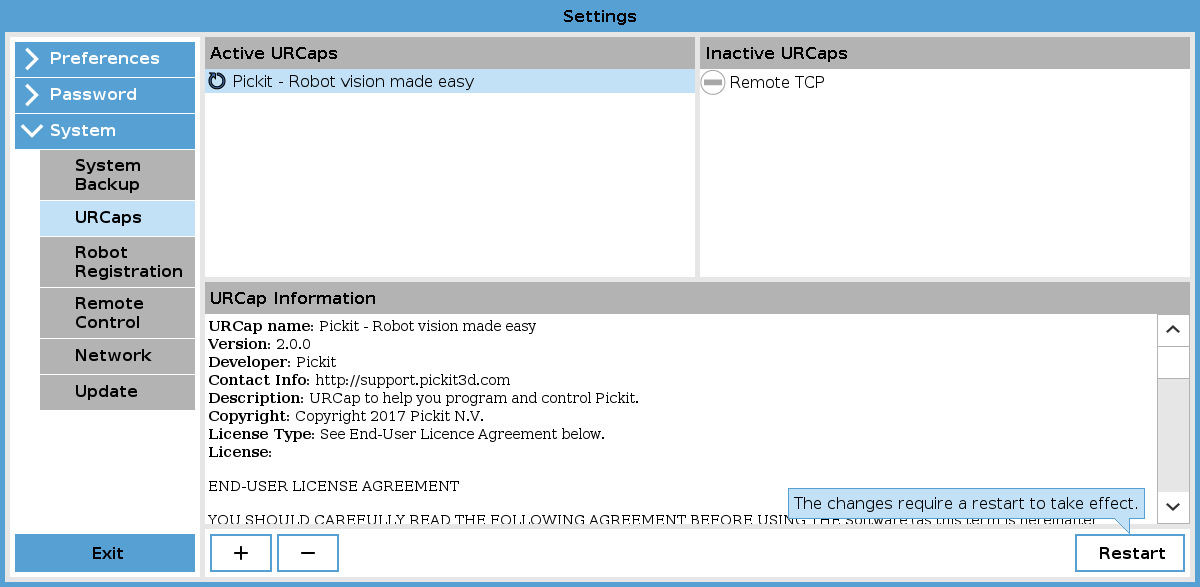
On the hamburger menu, select Settings, then System > URCaps on the left panel.

If there’s a previous installation of the Pickit URCap plugin (appears listed under
Active UCaps), it should be removed by selecting it and pressing -. Polyscope will indicate that a restart is needed, but there is no need to do it yet.Press + to install a new URCap: navigate to the USB drive, and select the
pickit_urcap-[version].urcapfile.Polyscope will indicate that a restart is needed for the changes to take effect. Press the Restart button to continue.

Once Polyscope restarts, the plugin will be deployed and ready to use. Make sure your Pickit system is running and connected to the robot’s network to continue.
Using the Pickit URCap plugin
To use the Pickit URCap plugin, three steps must be taken:
1. Connect to a Pickit system
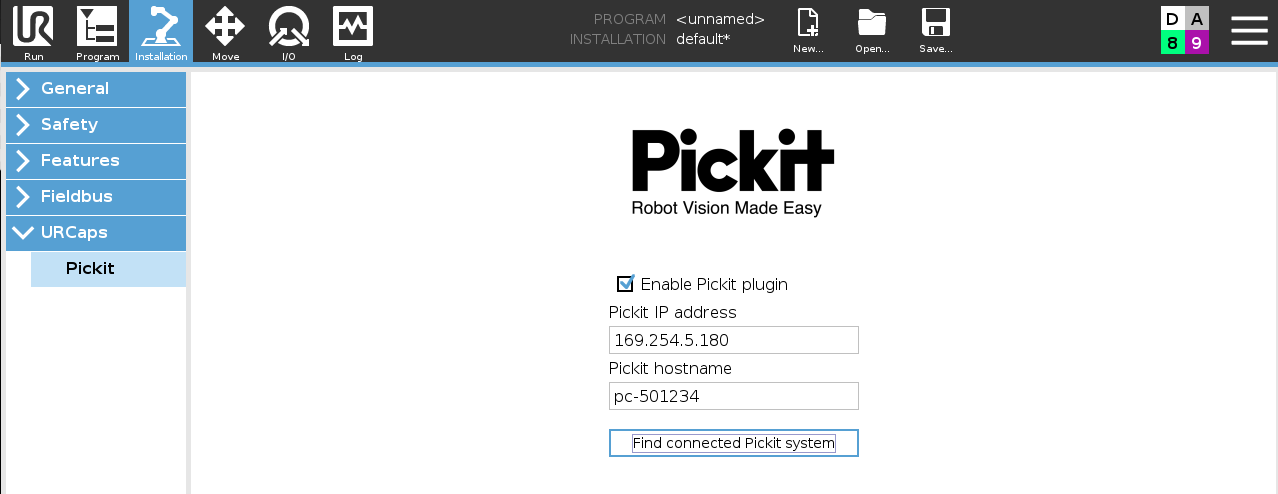
On the header bar, go to Installation, then URCaps > Pickit on the left panel.

Make sure that
Enable Pickit pluginis checked.Set the IP address and hostname of the Pickit system if you know them. Otherwise leave the default values.
Click Find connected Pickit systems. If the supplied IP and hostname are not correct, the URCap will search for a running Pickit systems in the network and populate the fields for you.
As long as the connection to Pickit has not been established, the status indicator at the lower left looks like this:

Establishing the connection to Pickit can take a few seconds, and while this takes place, the status indicator displays:

When the connection to the Pickit system is successful, the status indicator at the lower left should look like this:

If you plan to run robot programs that don’t use Pickit, you should disable (not uninstall) the Pickit URCap plugin, by unchecking the Enable Pickit plugin checkbox in the plugin’s installation screen.
2. Perform robot-camera calibration
If you want to perform robot-camera calibration once or infrequently, you can teach the calibration poses manually using free-drive and the Collect current pose button of the calibration wizard.
If, on the other hand, you expect to run calibration multiple times, you can use the example calibration program, which stores the calibration poses. This would be useful in the case when, for instance, the relative position of the camera with respect to the robot is not yet fully decided for your application.
3. Create pick and place robot programs
Writing a robot program with vision-guided pick and place is straightforward with the Pickit pick and place template. Take a look at the example program to learn more about the easy and intuitive user experience it offers.
Example programs are installed in the /programs/pickit_examples folder of the robot.