Robot mounting kit
The robot mounting kit is a camera cable specially designed for robot-mounted cameras, such that:
It is long enough to be mounted in large industrial robots.
The segment that can be routed through the robot can resist the bending and torsion typical of robot motions.
It is compliant with the Electrical Fast Transient (EFT) - IEC/EN61000-4-4 immunity standard.
Details of the mechanical and electrical characteristics of this cable can be found in the datasheets of the SD Pickit cameras.
Note
Earlier Pickit versions used to ship with the legacy 20 meter cable. Please get in touch with the Pickit sales team if you would like to upgrade to a robot-mounting kit.
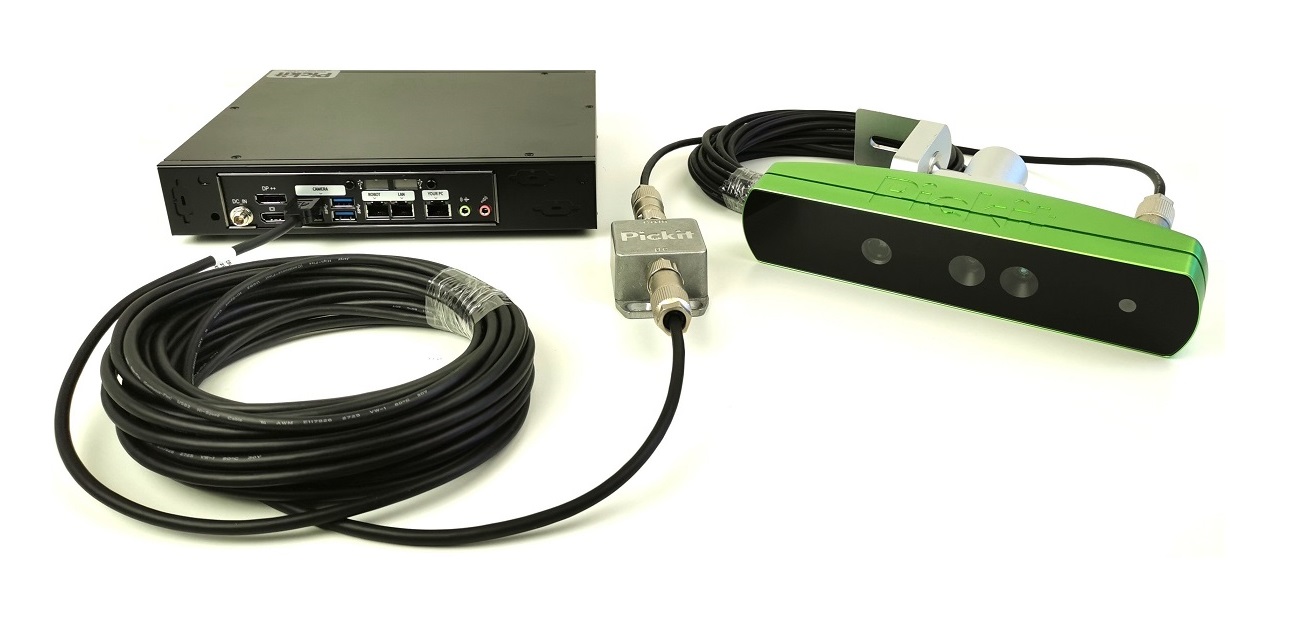
Components
The robot mounting kit consists of three elements, shown below:
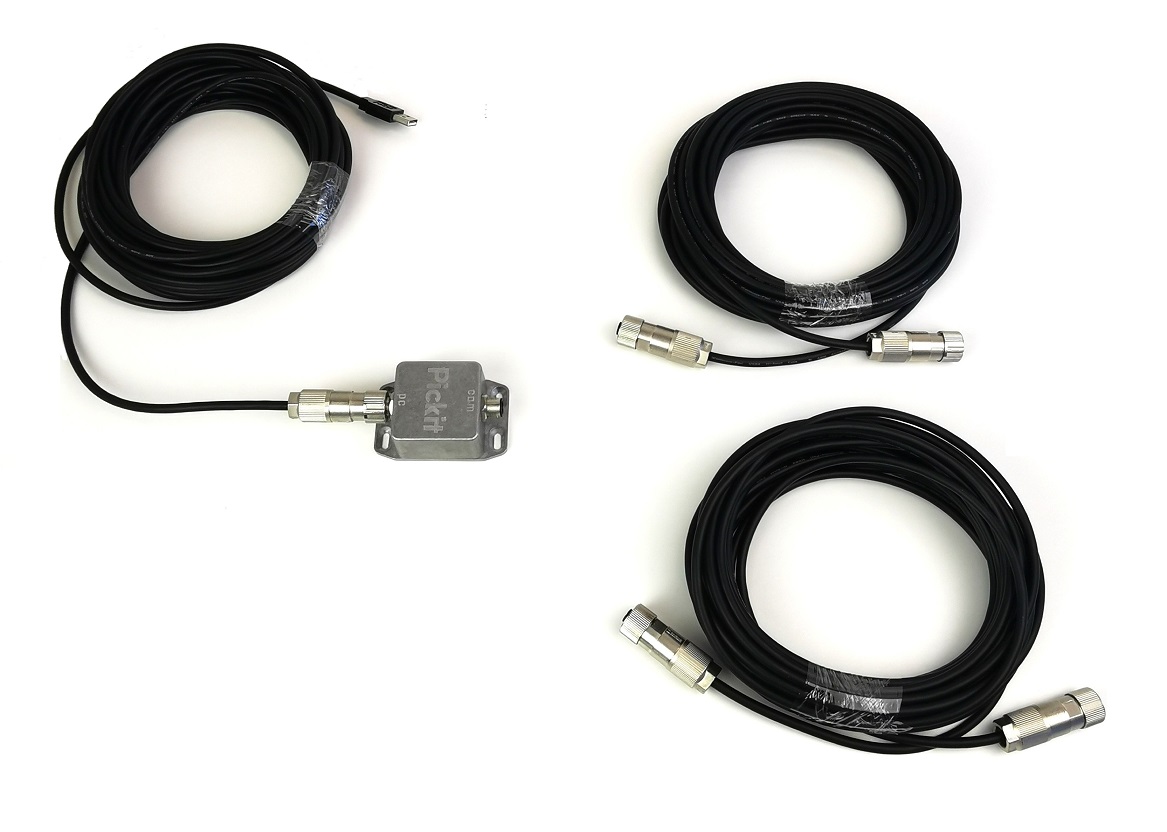
Processor cable : A 10-meter cable that connects the Pickit processor to the repeater box. It has a type-A USB connector on the processor end, and an 8-pin M12 screwing connector on the repeater box end.
Camera cable : A 10-meter cable that connects the repeater box to the camera. It has 8-pin M12 screwing connectors on both ends.
Repeater box : A box that connects the camera cable and the processor cable. Its top has the labels cam and pc indicating which cable (camera or processor, respectively) should be connected to which plug.

Installation
As a pre-requisite, mount the camera to the robot, following the best practices.
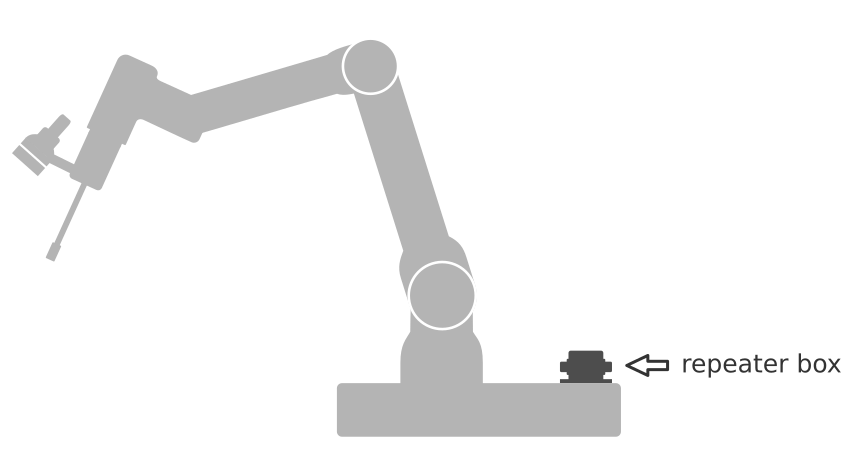
Attach the repeater box at the level of the robot base.
Connect the processor cable: The 8-pin connector to the repeater box plug labeled pc, and the type-A USB connector to the Pickit processor, in one of the USB ports labeled CAMERA.

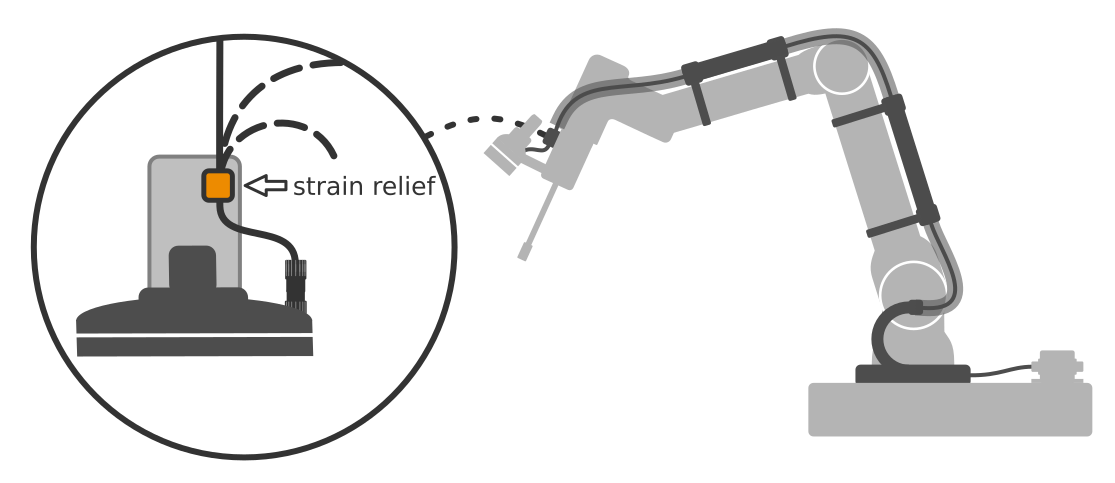
Route the camera cable from the robot base to the camera, following the recommended practices.
Connect the camera cable: One connector to the camera, and the other to the repeater box plug labeled cam. To correctly connect the 8-pin cable connectors, you should:
Turn the connector nut to align the mark with the connector body.
Insert the connector on the plug.
Tighten the connector nut half a turn until it clicks.
A continuous green LED on the front of the camera confirms when it’s powered.

Make sure to keep the spare camera cable in a safe place.