Component installation and setup
Pickit integrates seamlessly with Omron TM cobots by means of a a set of TMflow components. Each component is a building block for creating vision-guided applications with Pickit. This document explains how to install the Pickit components as well as example robot programs.
Pre-requisites
Pickit
Verify that the installed Pickit version is 2.1 or greater. The software version can be verified in the top bar of the web interface.
Tip
Do you have an older Pickit version installed? You can upgrade to a more recent version, or contact our support team at support@pickit3d.com.
Robot
The TMflow versions supported by the Pickit components are listed on our downloads page. The TMFlow version can be checked by clicking on the information button on the top bar (highlighted in red below).

Installing the Pickit TM integration files
To install the Pickit TM integration files, follow these steps:
Have a USB drive named
TMROBOTwith a root directory calledTM_Export.Unzip the archive and copy the contents of the
tm_pickitdirectory to the USB drive, underTM_Export\<your-robot-serial>.Note
TMflow requires USB drives to adhere to a specific naming and directory structure for importing contents into the robot. The above steps adhere to this layout.
Connect the USB drive to the robot controller.
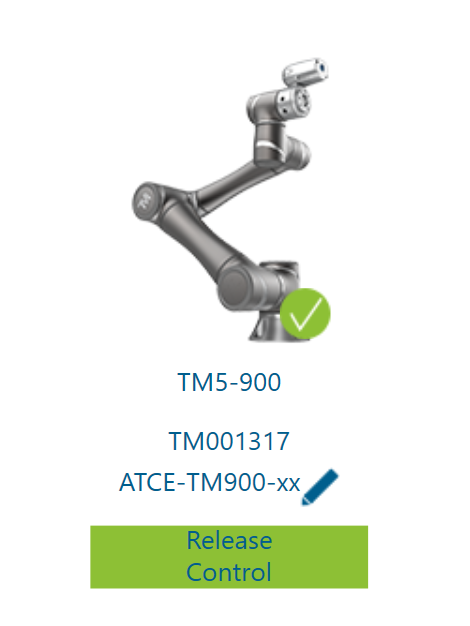
From a Windows PC, open the TMflow application and Get control of your TM robot.
Click the hamburger icon on the top-left corner of the user interface to display a panel on the left side of the screen.
Click on System on the left panel, to display the System setting screen.

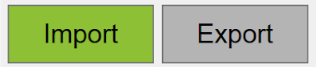
Click on the Import/Export icon.

Select Import on the top-left corner.
Select Component on the left panel. Browse the contents of the USB drive and select all the listed Pickit components. These are the building blocks for Pickit-based applications.

Select Project on the left panel. Browse again the contents of the USB drive and select all listed projects. These are example programs that can get you started with little effort.

The Pickit components are now imported, but they also need to be enabled to make them accessible to projects. To do this, click the hamburger icon, then Setting.

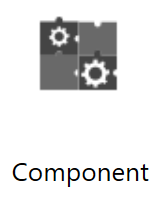
Click on the Component icon.
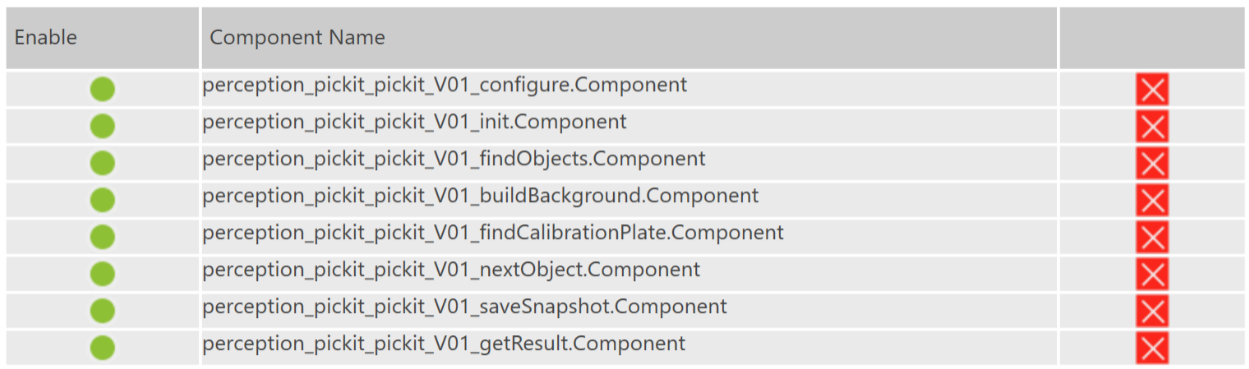
On the component list, select all imported Pickit components, enable them and save.
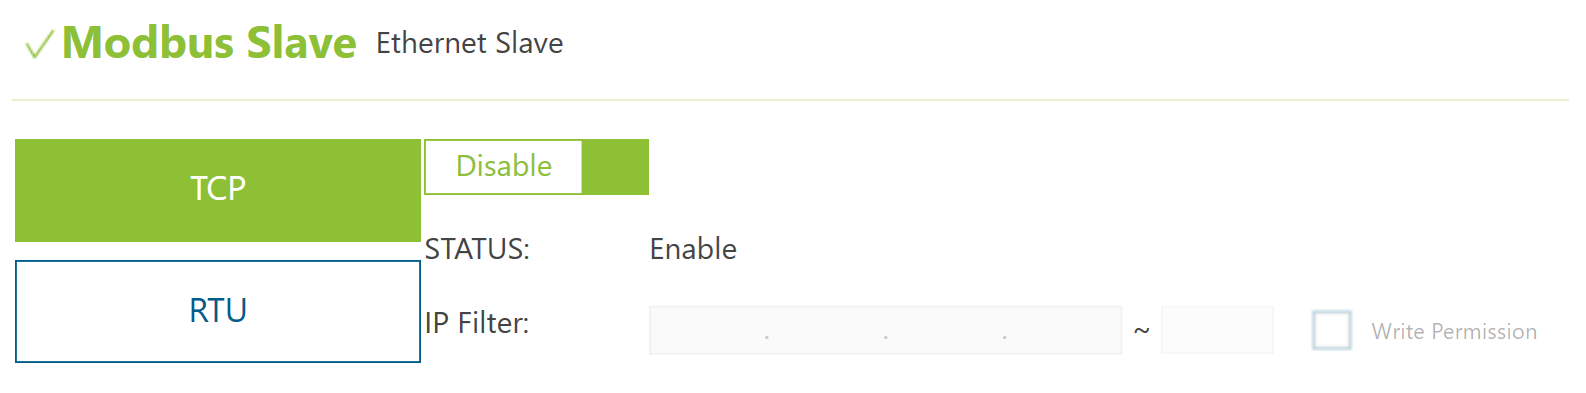
Enable the Modbus slave
The Pickit integration requires the Modbus slave to be enabled, as it’s used to read the robot flange pose and send it to Pickit. To do so, follow these steps:
Click the hamburger icon, then Setting.
Click on the Connection icon (called Modbus in earlier versions).
Toggle the TCP slave to be enabled.
Using the Pickit TMflow components
The available Pickit TMflow components are documented in detail in The Pickit Omron TM interface.
There are two main usecases for a robot program that uses the Pickit TMflow components:
Perform robot-camera calibration, which is explained in the Example calibration program.
Perform a pick and place task, which is explained in the Example pick and place program.
As long as your application is similar to the above examples, it is recommended to use the above examples as templates, and modify them according to the particularities of your application.
Happy picking!